Recently, I redirected you to my guest post on creating your own animal silhouette pillow. In case you missed it, here's the tutorial:
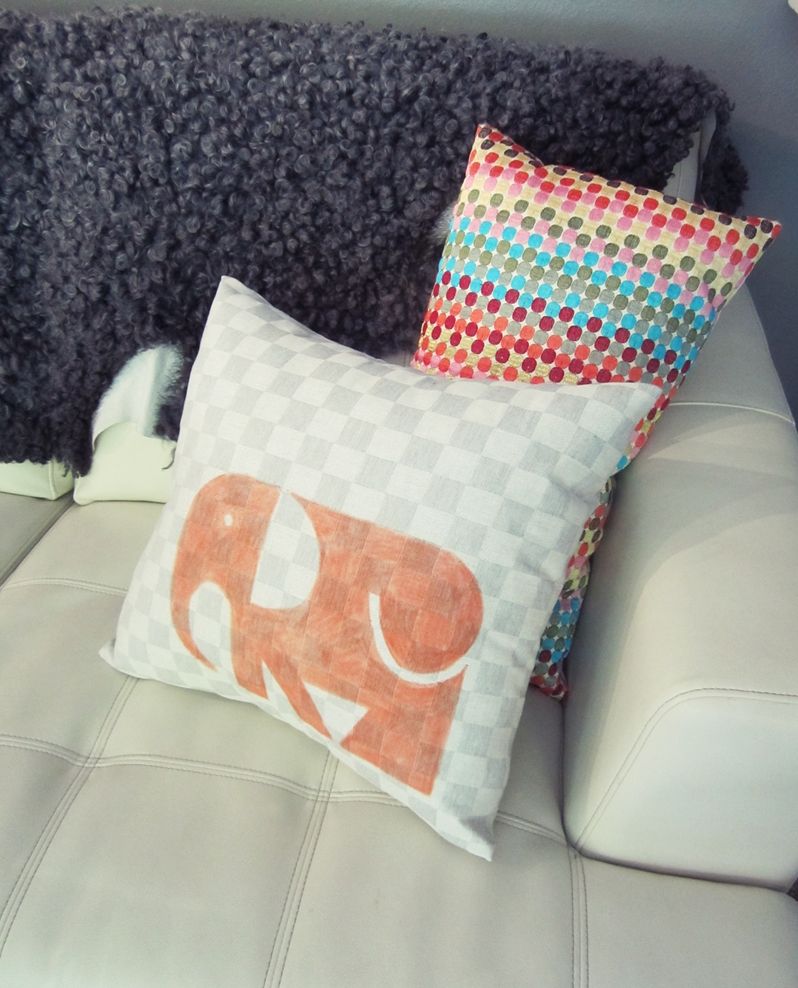
That's right. Animal silhouette pillows. And I've got it bad. It doesn't even matter which animal--I'd probably drool over a hyena-printed pillow, for heaven's sake. And hyenas aren't even attractive. That's how much I love them.
source
source
source

That's right. Animal silhouette pillows. And I've got it bad. It doesn't even matter which animal--I'd probably drool over a hyena-printed pillow, for heaven's sake. And hyenas aren't even attractive. That's how much I love them.
source
source
source
I found an easy, no-sew way to get this look. If you have some throw pillows that could use a little pizzazz (any word that uses FOUR zees gets a thumbs-up around here) and/or a modern update, I'd highly recommend doing this. I'd also highly recommend using the word "pizzazz" at least once in casual conversation today.
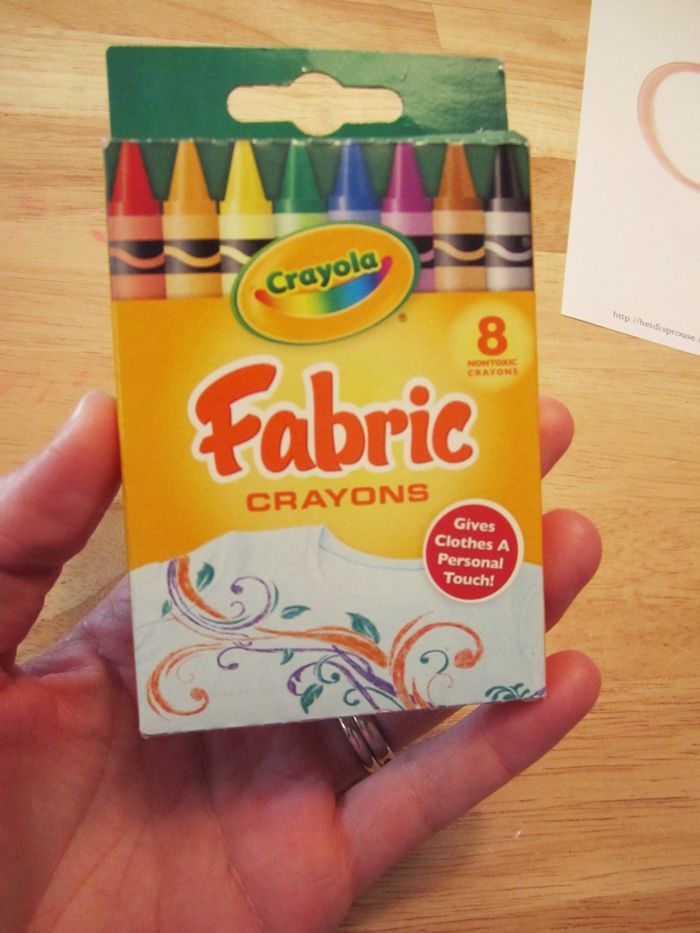
So. Pillows. What you'll need: a pencil, fabric crayons, some white pieces of paper, a throw pillow cover, and an iron. And when your 4-year-old points to the iron and asks, "what's that?" you should maybe start ironing more often. Hypothetically, of course.
First, I typed in something like "animal silhouette" or "simple animal outline" into google images. If you have a specific animal in mind, try searching for that. I knew I wanted something chunky, minimalist, modern, and whimsical. Found this pic (below) and printed it right off for the elephant:
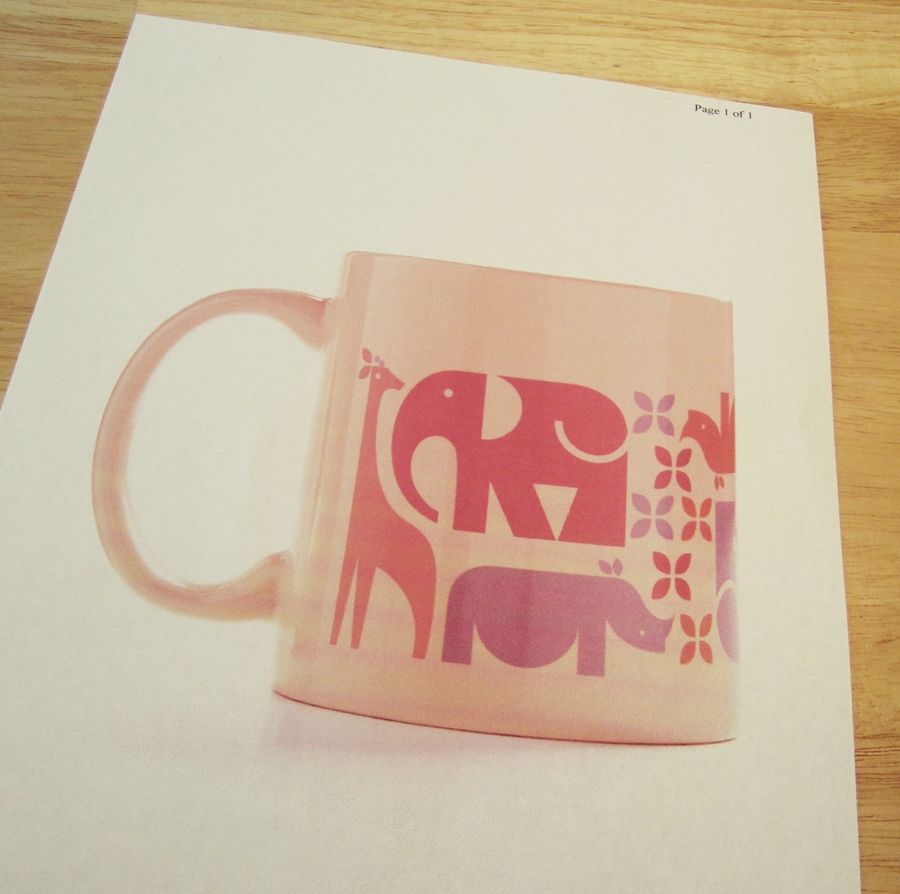
source
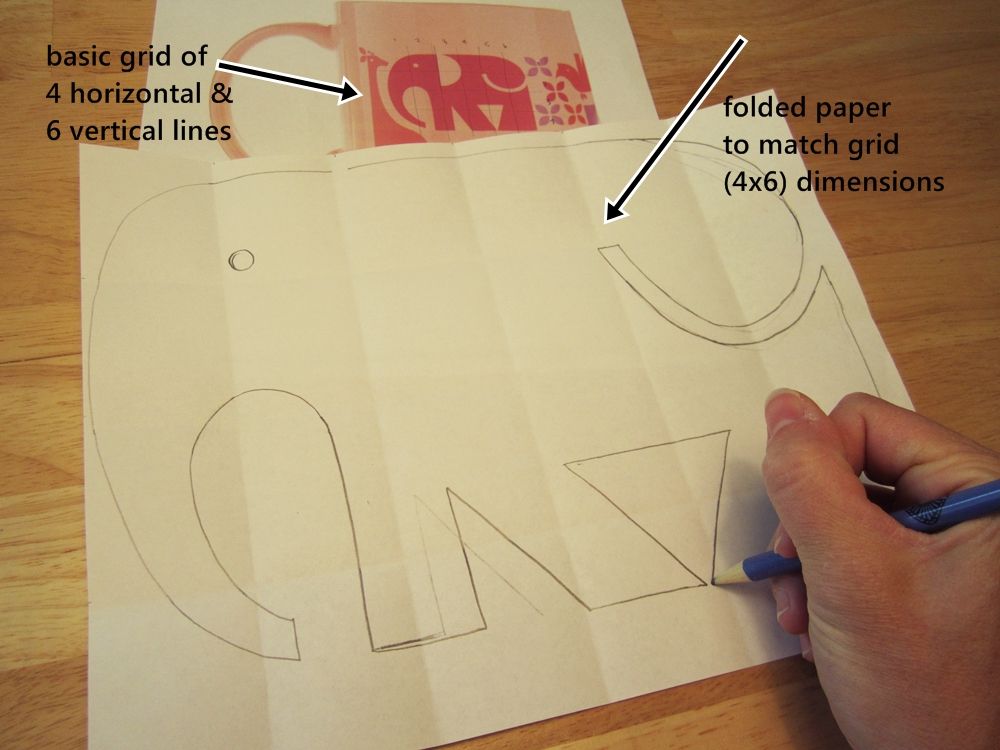
I needed to enlarge the image, so I roughly marked out gridlines on the original image (6 across, 4 down...although this would probably change based upon the shape of your animal and the size you want for your pillow). Because my silhouette was geometrically simple, not many gridlines were needed.
Rather than draw them, I loosely folded in the gridlines on my 8-1/2" x 11" paper. Notice on the original image, how the curves and angles are all the same; like, the elephant's rounded head and backside are mirror images of the same arc. I did my best to imitate this on my enlargement (and had to erase some in the process, but that's okay. It won't transfer to the fabric.).
One thing: With this elephant it didn't matter, but if your image contains words or something that need to be going a certain direction, you DON'T need to copy the image backwards or upside down or inside out or however else. Don't overthink it. Just copy as-is, it will turn out beautifully. (Your overloaded brain is thanking me right now, I can just feel it.)
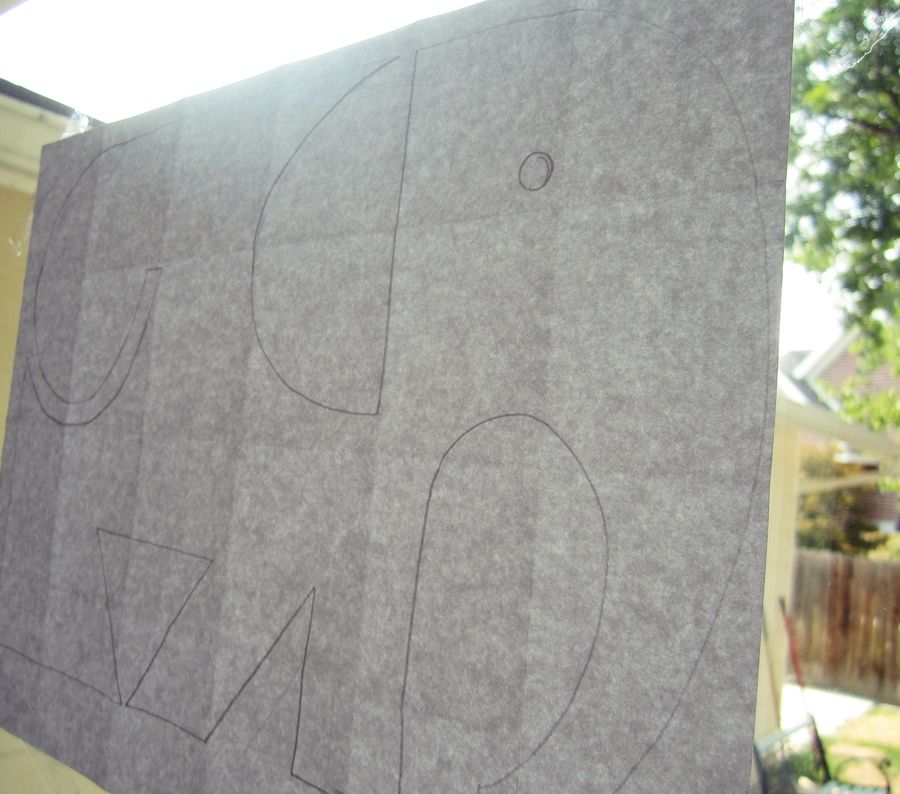
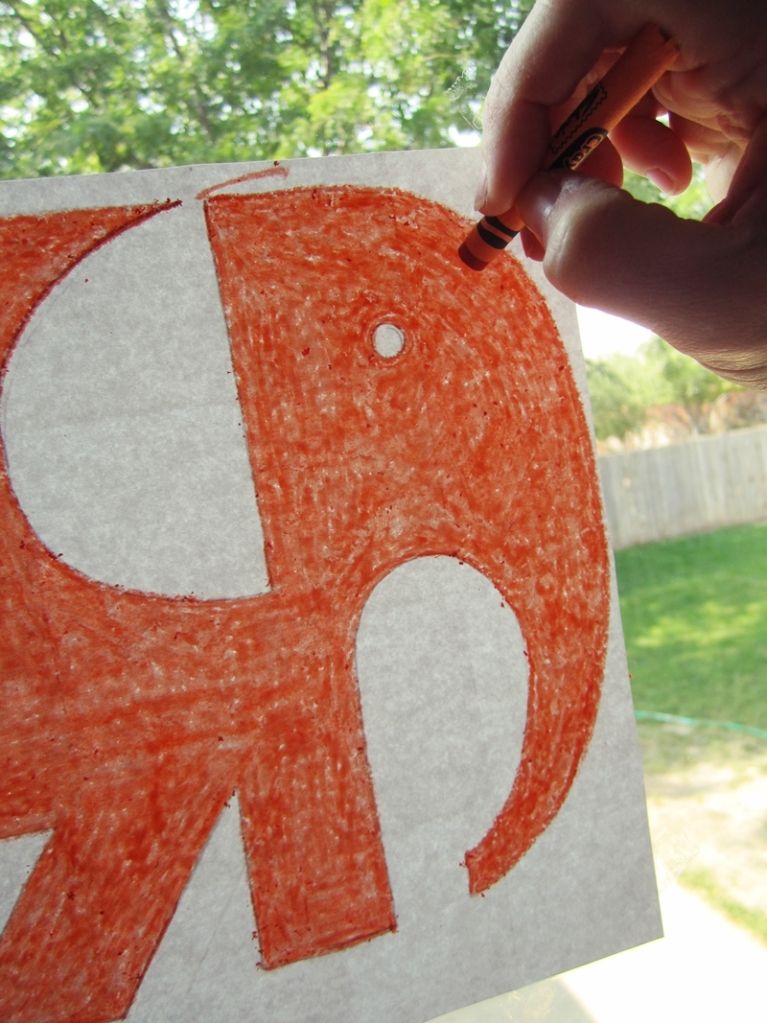
Flatten your paper as much as you can, then tape it PENCIL SIDE DOWN to a window so you can see your pencil lines. You'll want to color on the side that has no pencil markings on it, so make sure the pencil side is against the window.
I found these fabric crayons (randomly, I must say) tucked away in a drawer, so I pulled them out and tested them for color on a scrap of paper. Orange was perfect for what my space (where the pillow's going to go) needed.
I then spent the next 12 hours (okay, okay, probably more like 10 minutes) filling in the elephant. Press HARD and do your best to make the crayon color even. I used a paper towel and very very lightly wiped away all the crayon specks; these will melt and cause spottiness if you don't get rid of them. Also, I cut off that little mishap at the top of the elephant's ear (pic below). My hand was cramping up and spasming uncontrollably!
Make sure your colored-in edges and corners are as crisp as they can be; this will make a huge difference in how the image turns out later on.
Oh, and turn on your iron at this point. To the lowest "synthetic" setting. Also, grab a handful of freshly dried apples while you're at it. Enjoy.
Make sure your colored-in edges and corners are as crisp as they can be; this will make a huge difference in how the image turns out later on.
Oh, and turn on your iron at this point. To the lowest "synthetic" setting. Also, grab a handful of freshly dried apples while you're at it. Enjoy.
Okay, so at this point, you should have a very clean, dark crayon image on paper. Now you're going to make a paper-and-crayon-and-fabric sandwich. On your ironing board (or a towel on a hard surface), lay down a plain white piece of paper (just in case the crayon melts through). On top of that, lay your pillow cover fabric, right-side up and flat.
Then carefully lay your crayoned image face-down on the fabric. Be careful not to move it around to keep the image crisp. Top it all off with another clean white piece of paper. Double-check to make sure the crayon side and the right side of your fabric are touching.
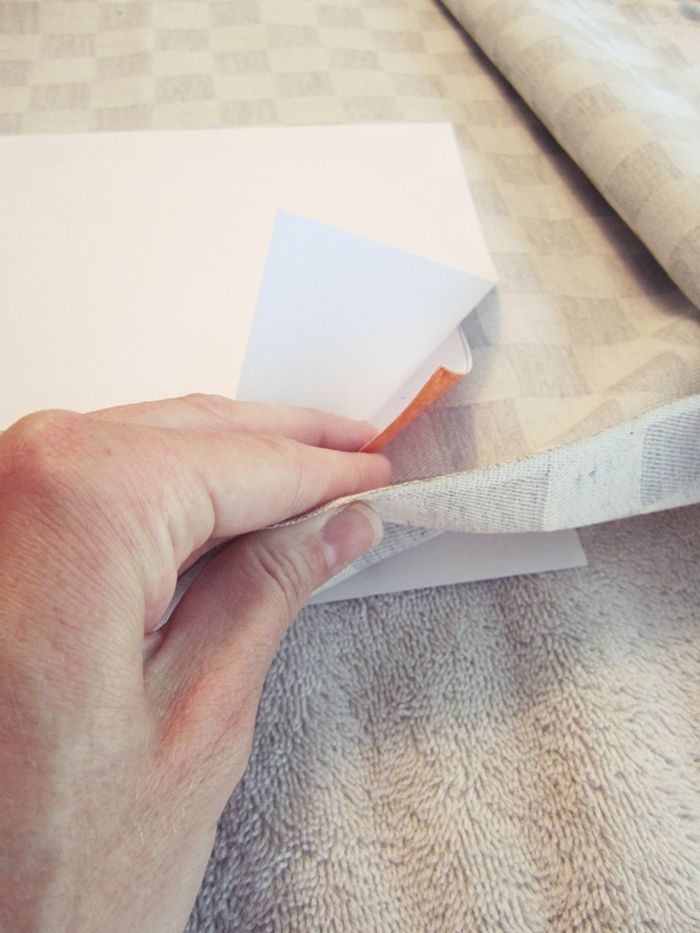
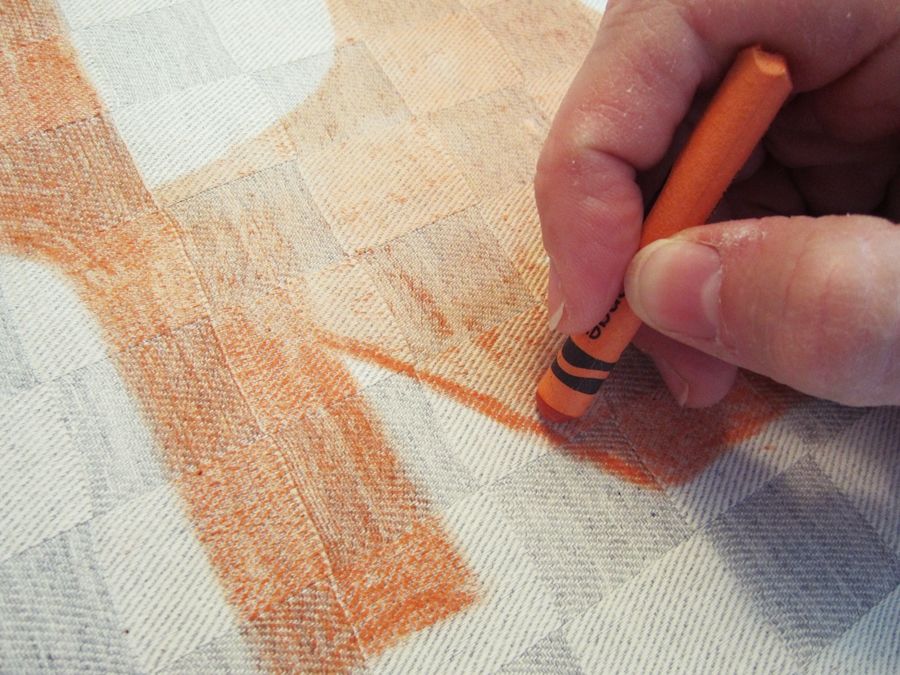
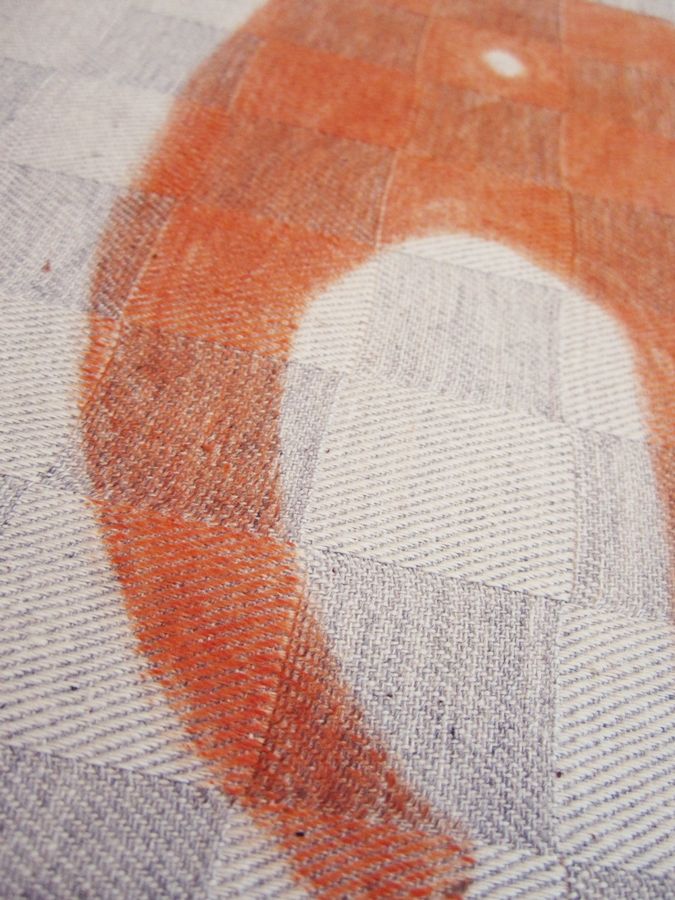
Next: iron. Press firmly with the iron on the topmost piece of white paper, holding it down for several seconds and then picking it up to move it. After completing the ironing, I had an okay image, but, despite my hand-cramping coloring efforts, it wasn't super dark. (Different fabrics "take" the crayon transfer differently.) So I care.full.y. colored directly onto the fabric, put a fresh sheet of white paper on top of that, cranked up the heat on my iron, and re-melted the crayon.
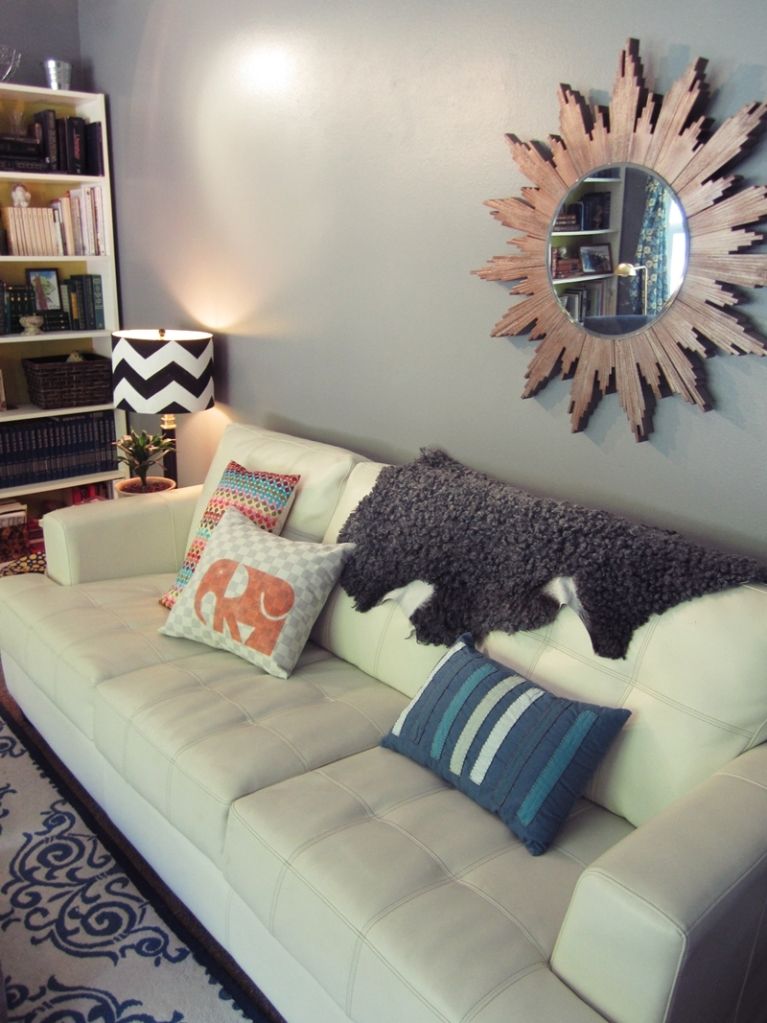
Now I'm off to soak my hand in some ice water. Don't laugh. My coloring abilities are not as honed as they were...like, 3 decades ago...
{This post was originally published at makingtheworldcuter.com on 9/25/12.}


Nice Digital Fabric Printers blog and i will share to my friends. Also i suggest Pillow Cover Printing.
ReplyDeleteit really nice
ReplyDeletepillow casing