Showing posts with label walls. Show all posts

Home Office Makeover...Almost Done...

This post is written in collaboration with CozyWallArt.com. Opinions expressed are 100% my own.
 
Hey guys!
 
I apologize for my absence over the past week. We've been a bit sick around here, plus I picked up
Gone With the Wind on a whim last week and couldn't blog because that book is a saddening 1,000+ pages. Priorities, people.
 
Anyway. You perhaps read about my excruciatingly un-inspiring home office and how I was determined to do something about it.
(Who are we kidding. You've lost sleep over it, I know you have.)
(You haven't? In fact, you've never even heard of me and this is your first time to this little part of cyberspace and so far you think I'm odd and too tangential? Huh. Welp, I'll say this for you: You're insightful. And welcome.)

So, between my wanting to throw my book across the room in frustration over Scarlett O'Hara and my rocking and holding and rocking some more my very sweet-clingy-sick toddler, I actually got started on the home office makeover. 
 
Here's the super awesome and accurate mockup of my vision:
 
 
Annnnd, here's a sneak peek of the real thing:
 
 
My first order of business was to delineate just, exactly, where the home office was going to be in the corner of my family room. I did this by painting a 9' section of the corner wall white.
 
 
I then got these jacks decals from CozyWallArt in black. (You guys might remember this other recent project I did with awesome decals from CozyWallArt.)
 
 
I used the 6" ones and spaced them one-per-square-foot. Originally, I had planned on using 10" jacks and spacing them one-per-14-inches. But the awesome designers at CozyWallArt, who knew the size of my wall, thought that the end result might not end up how I was envisioning. They sent me some .pdf files depicting a few different layout options - and they were absolutely right. I changed my order right away. You guys, this company is the real-deal for quality and for wanting what's best for the customer.
 
 
I used a measuring level and dotted out a grid on my wall - 12" between dots, and each dot would touch the same spot on the individual jacks. I also used a level on each jack before firmly placing it on the wall.
 
 
Oh yeah. Every once in awhile, I'd stand back and check out the growing geometry of the wall. Love the retro, almost sputnik vibe of these jacks and how, overall, they look like super retro-modern geometric wallpaper.
 
 
I had to choose between making part of the top jacks go onto the ceiling or part of the middle jacks go onto the chair rail. I chose the former, and I'm happy I did.
 
 
I like how the chair rail kind of disappears with the graphic wall. And I looove the graphic wall. It was surprisingly quick to put up, too - maybe took 3-4 hours, including measuring and leveling and all. Maybe less.
 
 
 I moved office stuff around to make it work better for my home office space. There are now two chairs, and two workspaces, instead of one. The desk itself is cleared off, which makes it much easier for using it as an actual work station.
 
 
I got the green chair for a few bucks at a thrift store - it was previously an ugly not-cream-not-brown color (you know the color I'm talking about), so I spray painted it this happy kelly green. Also, you can't really see it in this photo, but the lamp is a sweet vintage desk lamp that was also an unfortunate shade of brown but was brought into this millennium with some black spray paint.
 
 
I'm awaiting the arrival of a rug (should come in a couple of days). And I'm on the hunt for the perfect simple-retro wall clock. But, that being said, I genuinely couldn't be happier about the change to this little corner of our family room.
 
Don't forget to check out CozyWallArt.com for yourselves. In my opinion, their decals on the wall are the best part of this very basic home office upgrade. In fact, my husband was working down here yesterday and said he liked being able to look at the geometric wall as he worked. I think it's mentally stimulating without being distracting, you know? 
 
Do you have a "home office" space? What do you guys think is the best or worst or most important component of a successful home office?

(shared: Mums Make Lists)
Pin It Now!

Laundry Room: Painted Walls

Hey guys. Around here we've got going on a little something I like to call "Laundry Room Redo on the Cheap." Because we took a bunch of family vacations this summer, not the least of which involved some boogie boarding off the white sandy beaches of Hawaii, it's going to take a little bit to recover.
 
But I've been wanting to help out my laundry room for a long time now. And I think I can bust out some creativity in here. Or at the very least I could bust out a mop. Because under that washer/dryer situation was some scarrrry stuff. Just sayin'.
 
Here's where we begin, in all its loveliness:
 
 
It's a pretty tiny laundry room. Between the door and the window is this awkward corner. I built these shelves a few years ago, but they're not working as-is.
 
 
"Storage" shelf. Yep. Because hucking a million rags up on a shelf where few people can see it totally counts as storing them, right?
 
 
Cupboards full of years-old caulk containers and about 14 bottles of mostly-gone plant sprays.
 
 
First, I began (side note: coincidentally, this is how I begin all my major re-organization projects) by clearing out the room completely. Emptied the cupboards.
 
 
Moved the washer and dryer (one at a time) so I could clean the floors:
 
 
Basically, I made my kitchen become the dumping ground, so it looked a little something like this:
 
 
I wanted to give the cupboards a facelift, so I peeled off the shelf protector. (So so pretty, I know. It was a hard choice whether or not to let it go.) (Which is totally true if you replace the words "hard choice" with "no-brainer" and "let it go" with "yoink the stuff out as fast as my fingers could pull it.")
 
 
I removed the cupboard doors (permanently) and painted the cupboards in some leftover paint, Husky Grey. (The same paint that I used on the walls in this bedroom makeover.)
 
 
The shelves actually ended up looking like a warmish white next to the BM Buxton Blue of the walls, which was a nice surprise. (The same blue that I used on my lower kitchen cabinets.) Here's a really blotchy shot of the blue in various stages of drying:
 
 
So, that's where we are now. A little more on the cooler end of the spectrum, but I have high hopes it'll come together with some fun touches over the coming week...s... 
 
 
Pin It Now!

DIY Boxwood Wreath

Raise your hand if you're kind of intimidated by the faux foliage aisles at craft stores. (I totally made that name up, btw. Faux foliage, I mean. But I'm going to roll with it.)
 
 You can't see me, but both my hands were raised for about 4 minutes, until I realized this post isn't going to write itself. So. If your hands flew to the sky, let's be new best friends.
 
But I've got boxwood bushes outside. And an old grapevine wreath. (Unless the stick-like wreath I've got isn't grapevine, and if that's the case...my only excuse is that I wasn't kidding about avoiding the faux foliage craft supplies.) And I like greenery that I'm not bringing to a slow yet inevitable black-thumb demise. (Which, for the record, includes about everything.)
 
Nothing ground-breaking in this little tutorial here. But if you're interested:
 
 
I know many people could whip out a great wreath out of almost anything. I'm not one of them. Because I'm usually afraid that (a) the wreath will be crap, (b) it will look like my great-grandmother did it, (c) nothing against my great-grandmother and her craftiness, (d) I really could've stuck with option A and been good here.
 
My, we're chatty today. Let's get started. It really is an easy project. Here's what I used:
 
 
I just kind of started by tucking in the boxwood branches between the wreath's grapevine-sticks.
 
 
Kept working my way around, trying to keep the tips of the boxwoods at an even(ish) distance from the wreath itself as I moved around.
 
 
I added hot glue sparingly at first. Then, as I got into it, I was hot gluing everything...the stems, the leaves, the wreath, my thumb...

 
Ultimately, I wanted things pretty secure without the glue where possible, but having the hot glue there will help me sleep better at night.
 
 
From the side: I didn't go all the way toward the back of the wreath, but after completing the front, I did go back and glue on some light "filler" boxwood branches to camouflage the sticks. I mean grapevines. Whatever.
 
 
And here it is. It's a wild child, and I like it. It actually brings out a little bit of green in the painting above it. We've had that painting there for 2-3 years, and I had no idea it had green in it. Go figure. 
 
 
That blue shelf is still on my hit-list, but I haven't found its replacement yet. The new wreath looks super dark in this pic of my ridiculously ever-evolving (but not necessarily improving) entryway, but it's actually a lovely bit of fresh green in reality:

 
So anyways. There. Go forth and make your own faux foliage wreath now! I think you could really use anything, not just boxwood branches (their benefit is that they stay green). It was actually kind of fun and therapeutic. And I've got two thumbs, anyway, so burning one of them off with hot glue is no big deal in the grand scheme of things.

Featured!
       A Vision to Remember

{shared: 36th Avenue, A Glimpse Inside, A Jennuine Life, A Little Knick Knack, A Vision to Remember, Be Colorful, Beyond the Picket Fence, Boogieborard Cottage, C.R.A.F.T., Chic on a Shoestring Budget, Coastal Charm, Craft-O-Maniac, Crafty Texas Girls, Creating my Way to Success, DIY by Design, DIY DreamerDIY Showoff, Finding Fabulous, Fireflies & Jellybeans, GingerSnap Crafts, House of Hepworths, I Heart Naptime, I Should be Mopping, Keeping it Simple, Lil Luna, Mercy Ink, My Girlish Whims, My Repurposed Life, My Romantic Home, My Uncommon Slice of Suburbia, New NostalgiaNot Just a Housewife, Parlo & Logi, Pretty Things for You, Sew Can Do, Sew Much Ado, Shabby Nest, Simply Designing, Somewhat Simple, Sugar and Dots, Sugar Bee, Sumo's Sweet Stuff, The Busy Bees, The Shabby Creek Cottage, Thrifty Décor ChicUnder the Table & Dreaming, What-About Co.} Pin It Now!

Mint Greenish Aquamarine in the Living Room

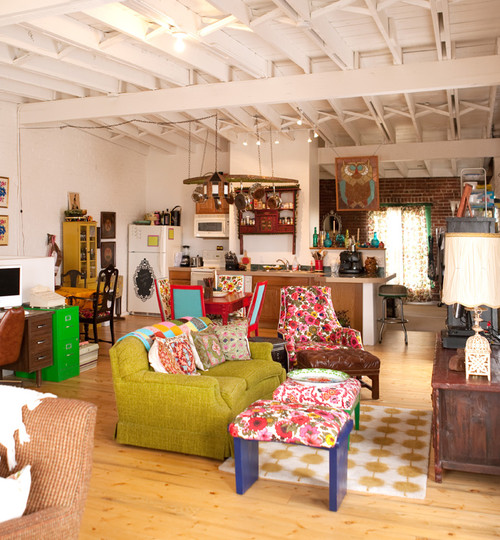
As you know, I'm thinking about painting our living room walls. At first, I thought slightly off-white would be perfect, just because there's already quite a bit going on in my space. Like these:

White is a perfect backdrop for all the eclectic decor and color in the photo below. Honestly, I love this space. I could exist here quite happily for years.

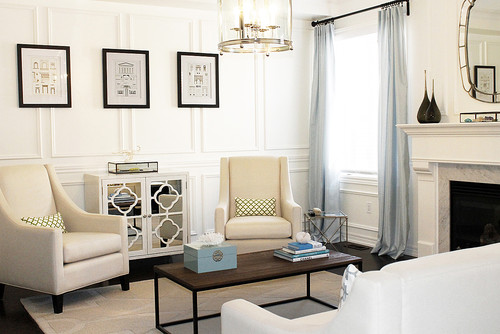
This one is super pretty. More formal than my space, but it breathes serenity and elegance, don't you think?

I like how these warm whitish walls are super crisp and clean, but not sterile:

But after discussing things with a friend and thinking about it for a while, I think white walls would lose all the white accents that are currently in my living room, turning the whole room into one mush of white porridge. Lumpy porridge at that.
 
So now I'm leaning more toward a soft mint green aqua(ish), taking cues from one of the colors of the floral area rug that's in there.

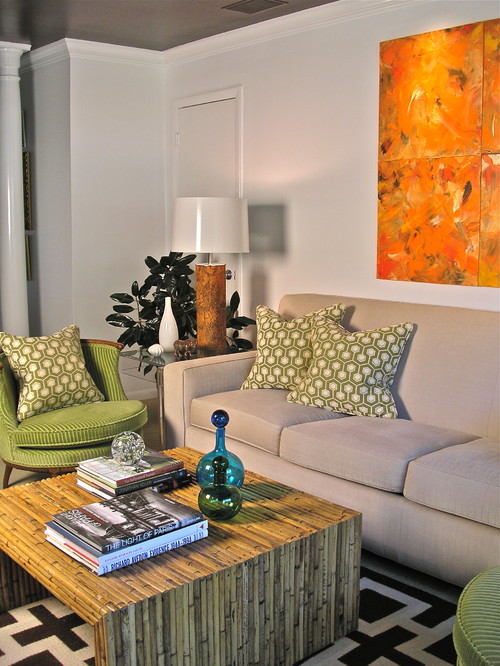
I'm not alone in loving the color, either. Like this chair:

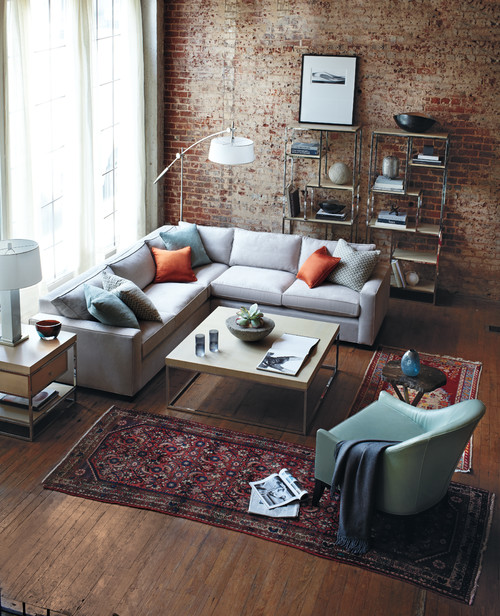
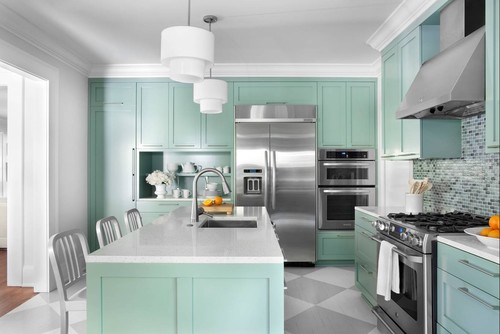
And this wall color (except I'd go lighter; I don't have as many warm wood tones as this space):

This is a little greener than I'm leaning, but the saturation is about right for what I'm after:

Okay, now I'm just posting random pretty pictures. Check, please:

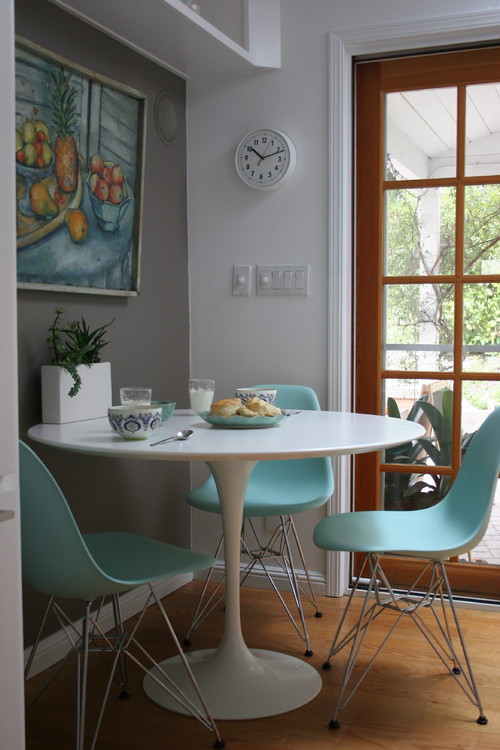
These Eames dining chairs are about spot-on. I'll take 6, thankyouverymuch.

This pale aqua is super dreamy and serene. Not the feeling I'm going for in the living room, but it sure is pretty:

I like the warmth and richness of this one:


Okay, Photo overload. What about you all? Any pale minty aquaish paint colors you'd recommend I look into?
Pin It Now!

DIY Art Frame (out of Painter's Tape)

My 6-year-old daughter would cover her entire room in tape if I'd let her. Scotch tape, masking tape, duct tape, washi tape. Doesn't matter. She loves it all.
 
And the apple doesn't fall far from the tree, apparently...
 
Similar to this DIY Art Frame I showed you last week, I've been playing around with other ways to frame stuff. Today's DIY is neither ground-breaking nor drool-worthy. But it's simple and it's free, and it frames up art. So.

(Note: I painted this black-and-white abstract on foam board myself. Picasso, I ain't. But it got the job done. I wouldn't recommend this framing method for "real" artwork.)
 
Take your art piece and lay it on a flat surface, like the dining room table. Take two cookie sheets (mmmm...cookies) and lay each down so it's a couple of inches wider than the widest part of your art. Weigh them down with something. (Like sick plants that are on their way to the dumpster. Because they can do this one last thing in life.)
 
 
Pull out strips of painter's tape so they stick to the sides of the pan. I did three strips - two for the top and bottom edges of my art, and one to be cut in half for the sides. Paint them with whatever color of paint you want your frame to be.
 
 
Let them dry thoroughly. If you use acrylic paint, like I did, it'll dry quickly. Then, using this method, create your art frame. Hang up art.
 
 
(Never mind the blankets hanging there awaiting laundry put-away time.)


This is the verrrry beginnings of an art gallery wall in our master bedroom. Because I moved the grey loveseat from the living room in here, where the vanity used to be, and I thought an art wall would lend sophistication to the space...or, at the very least, counter-balance the smashed cheerios from our delightful 11-month-old crawling destructo-baby.
 
Happy painted-tape-framing, people.

Pin It Now!

How to Make a Custom Art Frame (for under $5!)

I can't think of a segue into today's post, so let's just pretend I wrote something witty and endearing and intriguing and succinct here, and as a result you can't wait to read the rest of this post and follow my blog daily until the end of time.
 
There, that wasn't so hard now, was it? :)
  
I recently finished Nake Berkus' book, The Things That Matter. I have mixed feelings about the book overall, but one thing that keeps replaying over and over in my mind is when he said something to the effect of, "People ask me all the time if something is 'good' art. I ask them if they like it. If they like it, then, yes, it's 'good' art."
 
I love that.

A few weeks ago, I posted about a vintage art goldmine I happened across on eBay. I ended up ordering a bunch of prints (eight, to be exact, for a gallery wall) because I couldn't get them out of my mind. No, seriously. They haunted my dreams deliciously. (By the way, the store owner, LeeAnn, is awesome to work with. No lie. I'll be using her again for sure.)
 
Fast-forward to the happy day when I received said prints in the mail. It was like Christmas! (C'mon, you guys know the feeling. Admit it.) I loved them so much. However, the prints were a slightly odd size (bigger than 10x13 but smaller than 11x14), and custom framing for eight prints wasn't in my budget.
 
Enter the discovery of this idea, which got my wheels turning. I modified the process to create my own custom frames. I did eight of them in an hour or two, each one cost less than $5, AND my adorable husband thought they were made of wood when he got home from work that night. Dear man.
 
 
Due to photo overload, the full tutorial is after the break. I apologize for the inconvenience.
 
Pin It Now!
Related Posts Plugin for WordPress, Blogger...
Pin It button on image hover