Showing posts with label repurpose. Show all posts

The Best Materials for Decorating on a Tight Budget

Have I told you all that we're trying to save up to take our kidlets to Hawaii this year? Well, we are. That's part of the reason I'm so budget-focused right now. Of course, I still have expensive dreams...

(Like Jennifer Aniston's luxe purple velvet chairs here, for example. If you had a cool $42 mil lying around a coupla years ago when her house was for sale, she probably would've thrown the chairs in for free.)
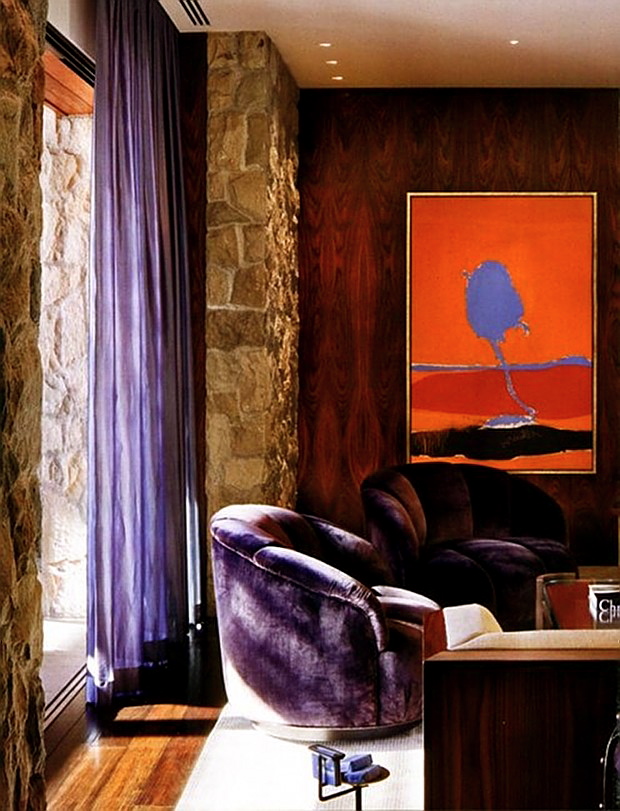
 
source
...but, for now, our family's financial priorities lie elsewhere. (ahem)
 
So, in the spirit of budgeting and decorating my home, the first thing I do is shop my house. What do I already have? Could it be repurposed? If so, awesome. However, there are times when the interior decorator in me needs something else to add a little home decorating boost but can't quite afford to make my whole dreams come true. ($42 million, anyone?)

Therefore, I present to you, my lovely readers, my top list of budget-friendly (translation: free, or pretty close to it) decorating resources. They're not for every project, to be sure, but they'll do in a pinch for a quick pick-me-up.


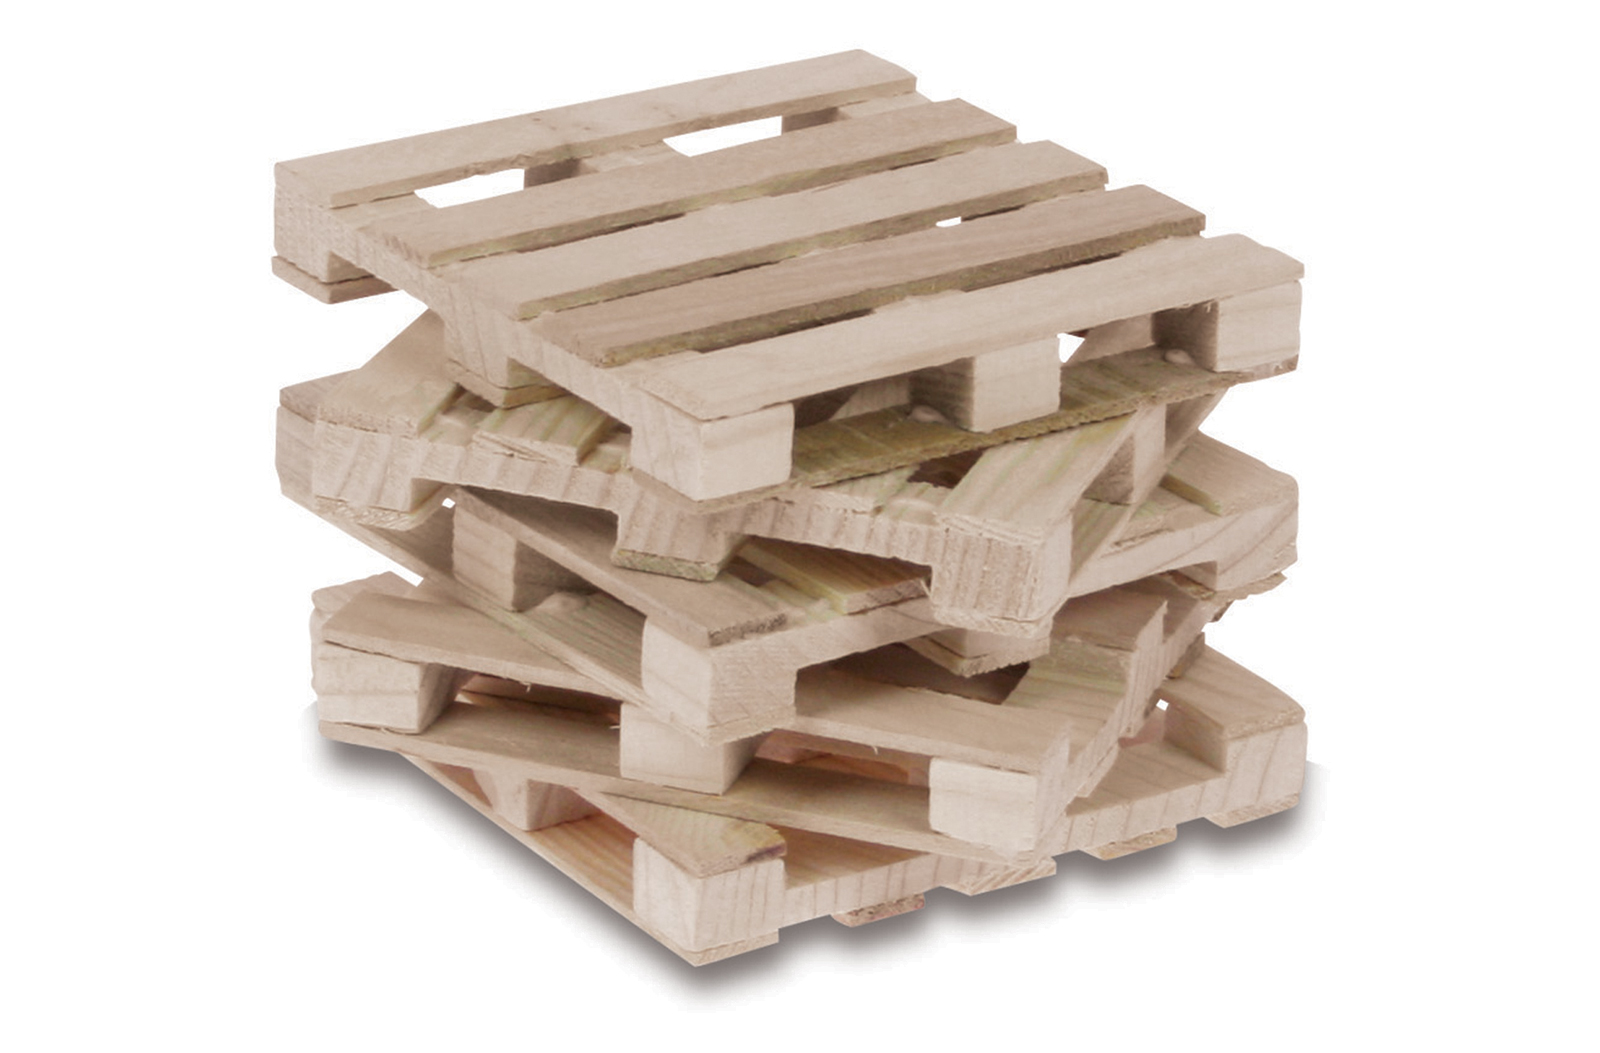
Pallet boards.
source
You knew I'd go here first, didn't you? Wood pallets are all the rage lately, and I've used them for several projects myself (like here and here). I've had the most success with finding quality pallets at my local Sears store. Just be sure to ask before taking, and be selective in choosing "safe" pallets to work with (what were they used for? were they chemically treated? are they moldy?). Also, keep those Tetanus boosters up-to-date!


Paint chips.

source
 

I've totally taken advantage of this free decorating resource for paint chip projects. I just love that you can choose any color(s) you want and then create artwork or functional pieces with paint chips for next to nothing. Just as a courtesy, though...make sure that you don't abuse the priviledge. Purchase some paint on occasion, too. :)


Sheets.

source
I've said it before, and I'll say it again: repurposing stuff (especially fabric) is a great use of resources. Using flat sheets as a fabric source, whether for curtains, bedding, or even artwork, is a great way to save money. Shop your own linen closet or get them inexpensively at supercenters. I think I'd bypass the thrift store on this one, though.


Mason jars.
source
These glass jars are sturdy and available in a variety of sizes and tints (or you could tint or paint your own), which make mason jars a prime candidate for a variety of home decor projects - lighting fixtures, planters, vases, random decorative accessories, you name it. Admit it...you've got some of these lying around with the well-intentioned plan that someday you're going to learn how to can, don't you? No? Just me? Oh...okay. Regardless, put them to good decorating use.


Cotton drop cloths.


source

Think beyond interior painting and how to paint a room when you look at drop cloths. These aren't free, but for a lot of yardage of heavy-duty cotton, they are a great budget option when sewing slipcovers, drapes, or anything, really, that could use a durable neutral fabric. You can purchase these at any hardware store starting at just $10. I just finished sewing a chair slipcover (my first one) using a 4'x15' drop cloth from Home Depot, and I'm pretty pleased with it (and the $12 price tag!).


Spray paint.

source

Also, I know that spray paint technically isn't "free," but I couldn't create a home decorating budget resources list and leave it out. Because for what you can do with a can of this stuff, it's such a great budget-friendly option. (Or, if you're a spray painting junkie like myself, you probably already have a bunch of cans sitting around waiting to be used up.) Transform furniture, frames, lighting, or random objects with some spray paint, and it'll freshen up an entire space. As I'm sure you already know.


 Am I forgetting anything obvious?

xox

Featured!

{shared: A Little Knick Knack, A Vision to Remember, Chic on a Shoestring Budget, Fingerprints on the Fridge, Finding Fabulous, Fireflies & Jellybeans, My Romantic Home, The Shabby Nest, What-About}

Pin It Now!

Bedroom Makeover: Pallet Headboard

Guest Bedroom Makeover
Day 4: How to Make a Pallet Headboard

**Note: This is part of a 12-step bedroom makeover series. Find the previous steps at the bottom of this post.**
 
Wood pallet projects are everywhere, have you noticed this? I hate to reinvent the wheel, but I did a little research on how to construct a pallet board headboard...and found lots of good ideas but nothing that matched what I had in mind.
 
So I'm not reinventing the wheel with this. Just, y'know, taking the round wooden version (of said metaphorical wheel) and gluing it. And sanding it a little. And then whitewashing it.
 
Here's a sneak preview:
 

  For the full headboard tutorial, click through the break...it's a little photo-heavy. And by that, I mean, it's basically one enormous string of millions of photos with a few words in between.
 
Pin It Now!

DIY Animal Bookends

 
 I've been haunted - in a good way - by these golden pig bookends from CB2 for months now.
So. Fantastic.

But the $30 price tag was more than I wanted to spend, and I knew I could bust out a DIY version anyway. (Hello, Pinterest.) But after mentioning this to my kids, they (and here's a shocker) couldn't bring themselves to sacrifice any toys in the name of house accessorization.
 
Fair enough.
 
You can imagine my tenderized heart when I came home from the grocery store a coupla days ago and found these lovelies waiting for me on the kitchen counter with a note from my 8-year-old son.
"For Mom. Carson."
 

(I think my heart would have been even more tender if I knew what those front two animals even are. Armadillos? Anteaters? Some prehistoric creature that doesn't even exist today?)
 
They're small animals, but he offered them so sweetly, I couldn't back out now. I figured I just wouldn't cut them in half but instead use two animals (rather than two halfs of an animal) as a set.
 
So I found some thin wooden blocks, measured, cut, and sanded them.

 
I glued two pieces of wood together first and used a toothpick to smooth out the excess.
 

Then I put small drops of glue on each paw and glued the animals down.


Here they are, awaiting the spray primer step...


...which can't come soon enough, if you ask me. Those red eyes have got to go. Creepy! Who designed these kid toys, anyway?


So. Primed and painted with Krylon metallic gold spray paint. In hindsight, it would've been easier to spray paint the stand and the animals thoroughly prior to gluing them together. Not a huge deal, but consider it a little tippy-tip to you from me. You're welcome.
 

Oh, and I also hot-glued four little dots to the bottom of each frame so they wouldn't slide whilst trying to hold up books.

For a super-fast, super-free project, I totally love how they turned out. Even knowing those red eyes are lurking under the bear's paint doesn't deter my love.

Any repurposing project that can make two I-have-no-idea-what-kind-of-animal-it-is figurines look even remotely chic? Winner winner chicken dinner.


I was thinking the gold might end up being a little stuffy-looking, but even with paperbacks they look great. I guess it's hard to make a bear-elephant duo look too stuffy...anywhere.


K, for real now. Here they currently live, on my super simple living room mantel.

 
There you have it. Now off you go, to raid your child's toy animals bin.
 
Featured!
The DIY Dreamer Were You Featured?
 UndertheTableandDreaming
Pin It Now!

DIY Ombre Ruched Duvet Cover

** My heart goes out to the surviving children, the families, the community of Newtown. Many tears shed and prayers prayed for them all. Heartbreak. **
____________________________________________________________________

Warning #1: This post takes foreevvvvvver.
Warning #2: But not nearly as long as the actual project takes.
Warning #3: But you still might love the end result so much you'll want to make one for every girl's bed in your house and the houses of your neighbors. Maybe.


 So. Ombre. We know it, we love it, we want some more of it. Same goes with ruching.
(Of course, about duvet covers, we're like "meh," until they incorporate said ombre and ruche-age. Then we're all, hizzah and hello there!)

So...want to make an ombre ruched duvet cover? Answer: Yes. Yes you do.


Let's get started.

(Click through to continue reading.)
Pin It Now!

Make a Tray out of an old Photo Frame

Happy (?) Black Friday! May the deals you found bring you joy and sleep.
 
Want to see what my kids are giving my parents for Christmas this year?
 
(Don't worry. We're currently visiting my parents, who live in another state, for T-day, and chances are about 95% that they open their Christmas gifts before we leave here. I for one can't keep a gift a secret, and my children inherited the faulty gene.)
 
Drumroll please. Or not. You can read ahead in silence, if you'd like.
 
His and Hers snack trays (a.k.a. "Bed Trays" around here...so you can eat snacks in bed, of course!) made out of two photo frames.
 

The three oldest kids designed and colored two pictures, one for gramma's tray and the other for grampa's tray.


My 4-year-old was adamant about the tray handles she picked out. I tried to show her other (*cough way better cough*) options at the store, but she wouldn't budge. How much do you argue with a preschooler when she is conVINCED that her grandparents will love her picks?


Answer: Not at all. Because she's absolutely right. They will love them.

 
I love this idea and secretly hope my kids will make one for me. Orrrr maybe even not so secretly. Maybe I'll set the supplies out on the kitchen table and lock myself in my bedroom while forcing them to make me one, rooster handles and all.
 
Happy weekend!
 
Pin It Now!
An amateur's guide to decorating shelves

So, remember my living room shelves? Here:
 
 
Seen from the get-go of walking into our house, these have become a little stale. And square. And blugh. I wanted to freshen things up, but I wanted to do it for $0. Possible? Maybe...
 
Step 1: Gather up random stuff from storage bins and around the house. As I wandered around, I was scoping out things that were light in color, varied shapes & sizes, texturally diverse, and/or easily modifiable.

 
(Yes, that is a GPS Tom-Tom box you see above. What can I say, a zero-budget forces me to get creative. Perhaps uncomfortably so...)
 
Find out more after the break...
 
Pin It Now!

trunk as coffee table, part I

Remember this guy?
 

I'm the lucky heiress of two of these *matching* carpet-covered wooden trunks from my gramma's house. These things are 30+ years old. My creative gramma had glued on the carpet remnants and used the trunks playfully to hold dressups. I have a zillion happy memories of playing dressups with cousins in her basement. But these trunks have been tucked away in the far corners of my basement because even rose-tinted nostalgia isn't enough to make me love them as-is. No. They must be prettier to win my love.
 
(Criteria applied to furniture only! Not my kids or anybody else! I swear!)
 
I had a thought the other day that they might actually be pretty sweet trunks underneath their shaggy fur. Maybe. Today's the day of reckoning. I started with just one trunk, in case things went horribly wrong. (Which can't be ruled out around here whenever me + tools...)

 
I used a wedge and hammer to peel the carpet pieces from the wood, keeping the wedge's flat side up to minimize damaging the wood. Which, due to the sheer volume of glue applied, was impossible. But I did my best.
 
What's this? Some old wordage painted on the box? Yessss...

 
Here she is about 4 million hours later. Magnificent vintageousness.


But even Cinderella and her mice friends needed a little boost from her fairy godmother. (An apropos metaphor that explains the mouse droppings...ugh and eww and sca-ry!...I found while pulling up the carpet...)
 
Enter my new BFF: adhesive remover.

 
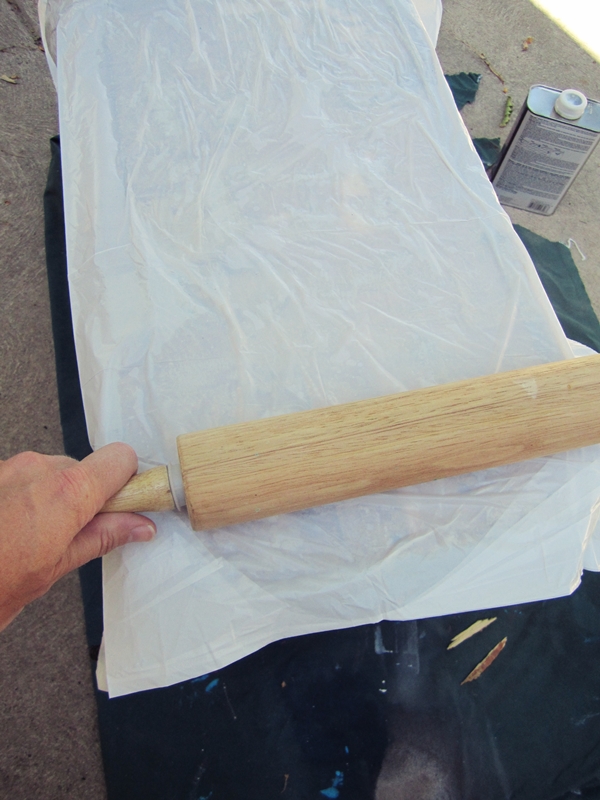
I followed the instructions on the back of the can. 'Cept I used a rolling pin to squish the adhesive around under a plastic garbage bag. And I didn't use gloves. Until one teensy tiny little drop of that stuff got on my skin, and it burned BAD about 1 minute later. So then I got some gloves. And also, I ditched the rolling pin and just used the putty knife to spread the adhesive.
 
Following directions: Fail.
Saving skin: Pass, but with room for improvement.

 
See how nicely the yucky old glue just scrapes away after using this stuff?

 
I wiped the putty knife off onto a paper plate after each pass. Yummy.

 
Note to self: make sure hair is securely tied back before embarking on this project. Mine quickly escaped its pony and proceeded to impair my vision throughout the project. Totally annoying. Learn from me, people. It's why I'm here. (Along with keeping the pnut butter m&m industry afloat, of course.)

 
Here's the trunk top before adhesive remover:

 
Annnd after:

 
(More words! "Time fuzes." I discovered that this was once a grenade-carrying box. So cool! But it does raise a few questions for my gramma...)
 
After the adhesive residue dried, I did a quick sanding of the trunk, being careful not to sand away the words.

 
There she is. Good ol' Chippy the Trunk. Isn't she a cute little grenade box? Love the random blue painted corner.


But can you see how the sides of the trunk, which were exposed over the years, are such a different color than the top and front, which were carpet-covered? I don't love that.
 
Trunk renovation to be continued...

(Addendum: View the completed whitewashed trunk as living room coffee table here. Sneak preview below.)
 
Pin It Now!
Related Posts Plugin for WordPress, Blogger...
Pin It button on image hover