Showing posts with label paint. Show all posts

How to Paint a Dining Room Table

Hey kids, as you can probably tell from the title, this post is about painting a dining room table. Because I'm crazy like that.
 
 
I'm not talking about slapping on a coat of paint and calling it good. I'm talking about durability. About kid-friendly. About withstanding milk spills and spaghetti night. About not worrying whether or not the tabletop is going to survive its next Kids' Craft Hour.
 
If you get what I'm saying, nod your head.
If you're nodding your head, read on...
 
I've been wanting to swap our current counter-height dining set for a standard table height for some time now, just because our dining room space is so small. I felt like everything was disproportionate.
 
Fortuitously enough, we looted a dining table and four chairs from an unsuspecting and sweet neighbor who's moving. (By "looted," I mean we hauled away her table while she practically did a happy dance because it meant she wouldn't have to move it anywhere herself.)
 
 
It's in decent shape but not great. Hey, it was free - no complaints here.
 
 
I love wood, don't get me wrong, but as you can see from the photos above, this particular table is (a) not real wood, and (b) possessing a wood tone that is too dark for our small dining room. We needed a little more light-n-bright. Stat.
 
 
The chairs are in good condition, but not exactly what I'm after. That's another project for another day. Soon.
 
 
There are a million and three ways to paint a dining table (believe me, I've scoured the interwebs and have taken copious notes), but this is the way I went about it. If you're looking to embark on a similar project yourself, feel free to add my humble account here into your mix of research.
 
(Continue reading after the jump.)
Pin It Now!

How to Paint a Striped Rug

So I've been working really hard on redoing my laundry room. Which is a totally true statement if you replace the words "really hard" with "not really all that hard." Heh.
 
Because some makeovers require tons of time and effort. And some require just a little TLC and some new storage containers. Guess which one my laundry room falls into?
 
Be that as it may (a phrase that instantly ages me by about four decades), I've tried to be pretty creative in this transformation to save a little bit of cash and to focus on reusing what we already have. Because, truly, I'm getting tired of waste. Such a drain on this fine planet of ours!
 
So, yeah. Recycling. Starting with creating the rug of my dreams(ish) out of a rug from my closet.
 
 
I started with this old 3x5 flatweave rug that has literally been folded up in my closet for months if not years.
 
 
Wanting to start with the lightest color, I grabbed some old white interior latex paint and eyeballed the chunkiness of my stripes. That's right. Totally guessed on those suckers. I don't think I even get an "A" for effort here. Dah well. "A" for efficiency. So. That's something.
 
 
I didn't focus so much on paint thickness here as just getting the stripes laid out. Because my rug is a flatweave, it was actually quite simple to keep the lines straight. What I did try to do was make sure the sides of each stripe (as in, down into the weave lines) were crisp and well-painted. It didn't matter if I went outside of my "stripe zone."
 
 
The original woven stripes of my rug did show through for the first 2-3 coats. I probably could've primed the rug first to decrease the amount of absorption, but for some reason that was too much work for me. I kept the coats of paint fairly thin and just worked from one end of the rug to the other, over and over and over again.
 
 
I think I ended up doing four(ish) coats of white paint. Then I grabbed some leftover salmon-coral paint (from my ombre painted dresser) and used this for my darker stripes.
 
I didn't even rinse out my brush, that's how laaazzzzzzzyyyy I went on this project.
 
Same method as with the white stripes, except this time I was more careful about the stripe sides. Because I had focused on getting the white paint thoroughly into the weave "grooves," I just painted my darker lines along the tops of the weave lines for a crisp result.
 
This is making no sense, is it. Sighhh...
 
 
I think I only had enough paint to do two and a half coats of the coral, and it kind of shows the original woven stripes. Not super noticeable in real life, though. I let the freshly painted rug dry overnight and brought it inside the next day.
 
 
Not bad for about an hour of painting and $free$. I love the graphicality that a striped rug adds to a space, especially a cheerful one like a laundry room. Oh, and if you're interested, feel free to check out the complete post on my tiny laundry room makeover.

Featured!
    http://linda-coastalcharm.blogspot.com/


{shared: A Glimpse Inside, A Jennuine Life, Angels Homestead, Be Colorful, Be Different Act Normal, Boogieboard Cottage, Chic on a Shoestring Budget, Coastal Charm, Craft-O-Maniac, Creating my Way to Success, DIY by Design, DIY Showoff, Domestically Speaking, Finding Fabulous, Fingerprints on the Fridge, GingerSnap Crafts, House of Hepworths,  I Should be Mopping, Lines Across, Mercy Ink, My Girlish Whims, My Romantic Home, My Uncommon Slice, New Nostalgia, Not Just a Housewife, Sew Can Do, Simply Designing, Sugar Bee Crafts, Sumo's Sweet Stuff, The 36th Avenue, The DIY Dreamer, The Shabby Creek Cottage, The Shabby Nest, Thrifty Decor Chick, Under the Table & Dreaming, What-About}
Pin It Now!

Laundry Room: Painted Walls

Hey guys. Around here we've got going on a little something I like to call "Laundry Room Redo on the Cheap." Because we took a bunch of family vacations this summer, not the least of which involved some boogie boarding off the white sandy beaches of Hawaii, it's going to take a little bit to recover.
 
But I've been wanting to help out my laundry room for a long time now. And I think I can bust out some creativity in here. Or at the very least I could bust out a mop. Because under that washer/dryer situation was some scarrrry stuff. Just sayin'.
 
Here's where we begin, in all its loveliness:
 
 
It's a pretty tiny laundry room. Between the door and the window is this awkward corner. I built these shelves a few years ago, but they're not working as-is.
 
 
"Storage" shelf. Yep. Because hucking a million rags up on a shelf where few people can see it totally counts as storing them, right?
 
 
Cupboards full of years-old caulk containers and about 14 bottles of mostly-gone plant sprays.
 
 
First, I began (side note: coincidentally, this is how I begin all my major re-organization projects) by clearing out the room completely. Emptied the cupboards.
 
 
Moved the washer and dryer (one at a time) so I could clean the floors:
 
 
Basically, I made my kitchen become the dumping ground, so it looked a little something like this:
 
 
I wanted to give the cupboards a facelift, so I peeled off the shelf protector. (So so pretty, I know. It was a hard choice whether or not to let it go.) (Which is totally true if you replace the words "hard choice" with "no-brainer" and "let it go" with "yoink the stuff out as fast as my fingers could pull it.")
 
 
I removed the cupboard doors (permanently) and painted the cupboards in some leftover paint, Husky Grey. (The same paint that I used on the walls in this bedroom makeover.)
 
 
The shelves actually ended up looking like a warmish white next to the BM Buxton Blue of the walls, which was a nice surprise. (The same blue that I used on my lower kitchen cabinets.) Here's a really blotchy shot of the blue in various stages of drying:
 
 
So, that's where we are now. A little more on the cooler end of the spectrum, but I have high hopes it'll come together with some fun touches over the coming week...s... 
 
 
Pin It Now!

Bluey-Greeny-Grey Kitchen Cabinets (lowers)

On a whim last week (after thinking about it for months), I painted out our lower kitchen cabinets. Benjamin Moore's Buxton Blue, if you're curious. Which is an absolutely lovely color - a warm bluey-greeny-grey.


I've been hesitant to change out the all-white scheme of the cabinetry, simply because we have white appliances, and I didn't want them to stand out. But, at the end of the day, I love color, and I was ready for a (budget-friendly) change in the kitchen.
 

I love the color itself - it's warm and deep but still light and fresh.
 

But I'm not the only one loving this versatile color; it's everywhere!:


homerenovations.about.com
The color looks great even in a bedroom. Or bathroom.


So. Bluey greeny greyish kitchen. Yes, please!
Pin It Now!

Cobalt Blue Front Door

I was "reading" a book on how to build sheds the other day, when I came across an image that has stuck with me ever since.
 
It was of this quaint old shed, goldish-yellowy-orange, with a cobalt blue door and window trim and a plethora of red flowers in pots all around it. I'm sorry I don't have a pic to share, but trust me. It was warm, fresh, inviting, and exuberantly unapologetically colorful. Loooooove the cobalt.
 
 
I decided yesterday that, frankly, front doors are huge. I mean, their impact and their ability to set the stage (or not) for the home.

On that soapbox note, here's the dreariness that greeted people to my own home for the past (insert embarrassingly high number) years:
 
 
The weird part is, the people who live inside actually do have personalities! And aren't color blind! Although the random passerby would have no clue about either case.
 
I've actually struggled with customizing our front door space for a while because the rock is a bit dated and represents a color scheme I'm not big into, but it's permanent as far as we're concerned. I also wanted a replacement front door with glass, for more natural light inside. But that would lend zero privacy to much of our upstairs, and that wasn't a great option.
 
What to do, what to do.
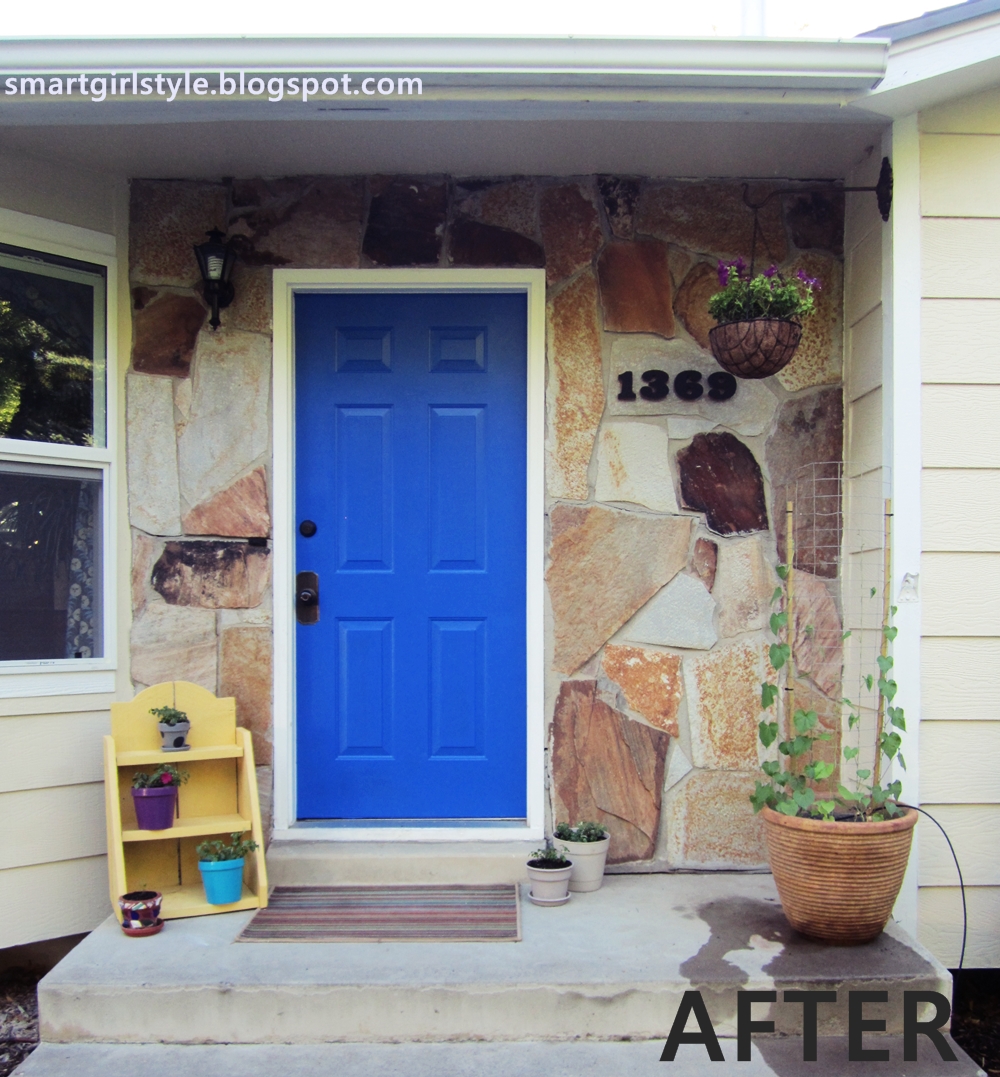
What I did in the end was paint the door and ignore the rock altogether. Pretend like it's not there. Because I'm nice like that.
 
So. A quick coat (or three) of blue, and you can see immediate life starting to stir within. Or without. Whatever. Not so happy were the wooden house numbers straight from the 80s. I painted them the same color as the door (obv) but soon realized my mistake. Wowsahs. 


I bought some great contemporary house numbers from Home Depot and was going to hang them up, but I chickened out because (a) I'd be mounting them into stone, and I've never done that before, (b) I couldn't even figure out how to take the old numbers off, and (c) I was going to royally screw up the whole thing. I mean, it's kind of a prominent place to be debuting a hammer drill.
 
So I brushed a few coats of black paint over the numbers to tide us over until I could work up the courage to deal with stone and drills and scariness like that. It's not great, but it'll do.
 

Watered some plants, which I realize now makes for a not-so-lovely photo detail. Dah well. I also had some leftover exterior yellow paint from another project, so I gave this sad pot spot a buttery facelift. (mmmm...butter...) And swapped out the welcome mat for a rug I had on-hand until I fall in love with something else to replace it.

Looking better.
 

I thought some color up top would be nice, so I dug up an old hanging basket and hung it from a metal planter-holder-upper thing mounted on the side of the house. (Didn't like how high the flowers would have been if hooked from the ceiling.) I potted some petunias and am sending them all the green-thumb vibes I can muster. Which is about two, total.

 
The lone impatien. Grow, friends!
 
 
And here we are again:
 
 
Still some things to do (like deal with that drip hose and get the flowers to bloom, baby, bloom), but I like where this is headed. It's out there, it's wild, it's bold. But what about you all? Are you a yay or nay on colorful front doors?

{shared: A Glimpse Inside, A Jennuine Life, Be Colorful, By Stephanie Lynn, C.R.A.F.T., Chic on a Shoestring Budget, Coastal Charm, Craft-O-Maniac, Crafty Texas Girls, DIY by Design, DIY Dreamer, DIY Showoff, Domestically Speaking, Dragonfly Designs, Finding Fabulous, Fireflies & Jellybeans, GingerSnap Crafts, House of Hepworths, I Should be Mopping, Ivy and Elephants, Jembellish, Lil Luna, Mercy Ink, My Girlish Whims, My Romantic Home, My Uncommon Slice, Not Just a Housewife, Sew Can Do, Simply Designing, Sugar & Dots, Sumo's Sweet Stuff, The 36th Avenue, The Shabby Creek Cottage, The Shabby Nest, The Style Sisters, }
Pin It Now!

Mint Greenish Aquamarine in the Living Room

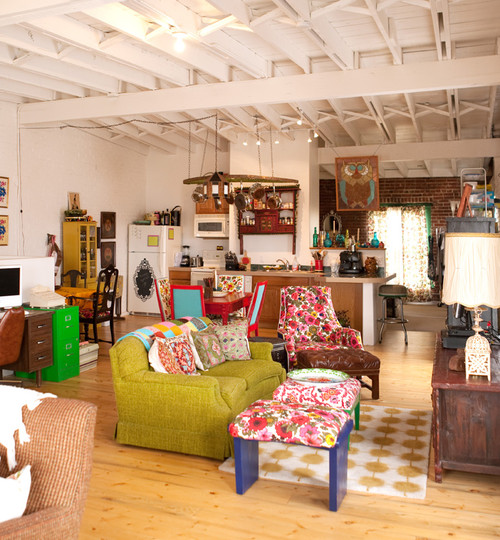
As you know, I'm thinking about painting our living room walls. At first, I thought slightly off-white would be perfect, just because there's already quite a bit going on in my space. Like these:

White is a perfect backdrop for all the eclectic decor and color in the photo below. Honestly, I love this space. I could exist here quite happily for years.

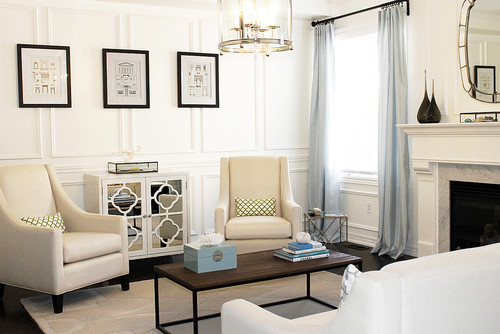
This one is super pretty. More formal than my space, but it breathes serenity and elegance, don't you think?

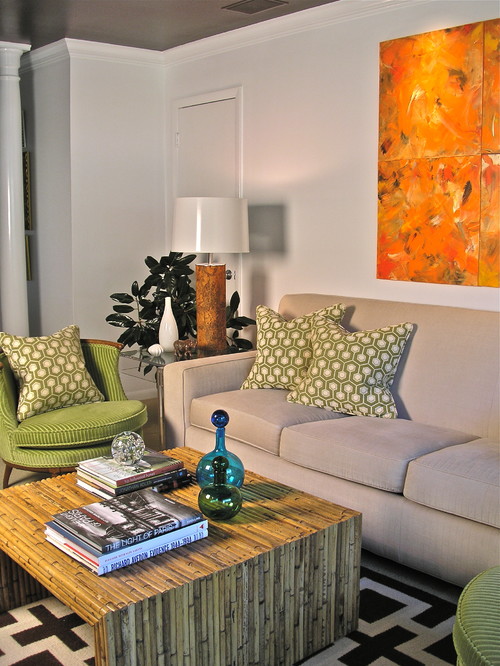
I like how these warm whitish walls are super crisp and clean, but not sterile:

But after discussing things with a friend and thinking about it for a while, I think white walls would lose all the white accents that are currently in my living room, turning the whole room into one mush of white porridge. Lumpy porridge at that.
 
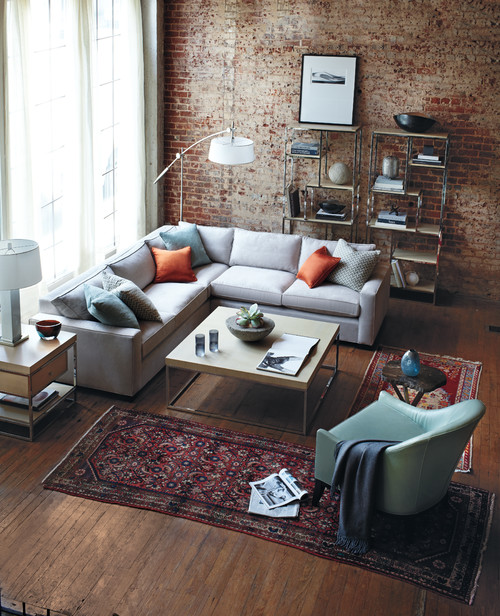
So now I'm leaning more toward a soft mint green aqua(ish), taking cues from one of the colors of the floral area rug that's in there.

I'm not alone in loving the color, either. Like this chair:

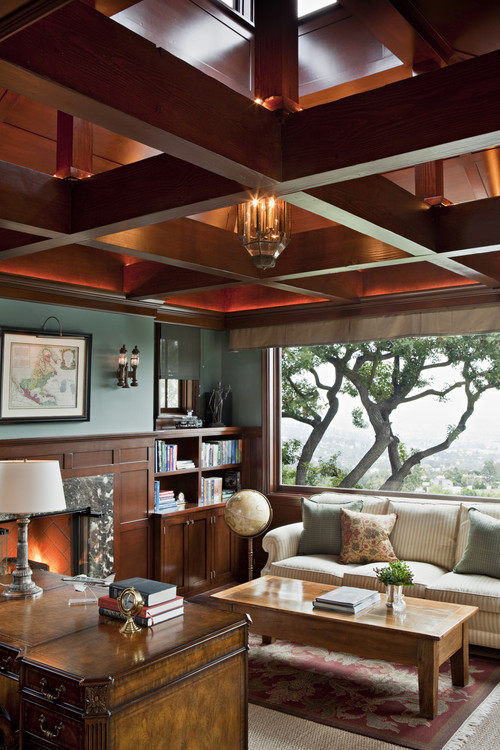
And this wall color (except I'd go lighter; I don't have as many warm wood tones as this space):

This is a little greener than I'm leaning, but the saturation is about right for what I'm after:

Okay, now I'm just posting random pretty pictures. Check, please:

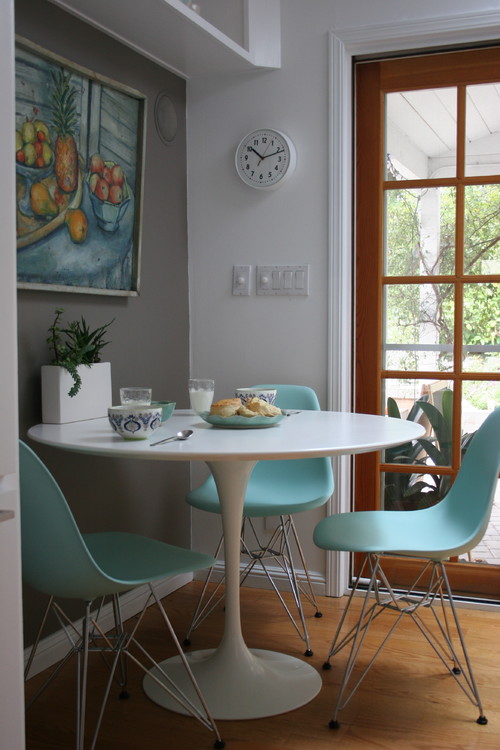
These Eames dining chairs are about spot-on. I'll take 6, thankyouverymuch.

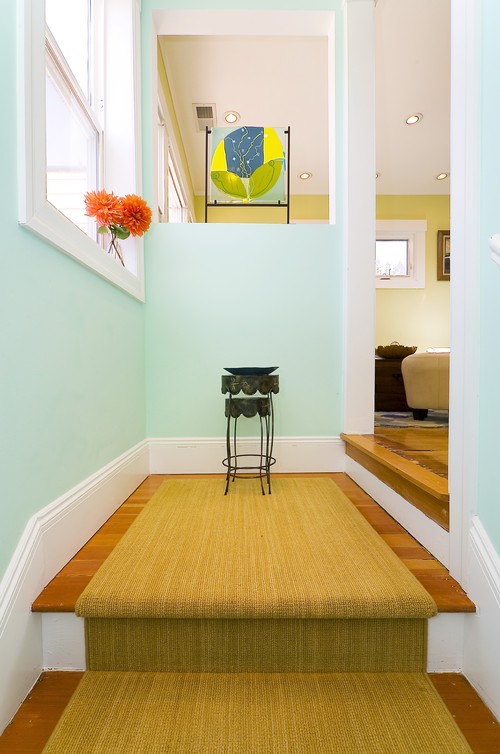
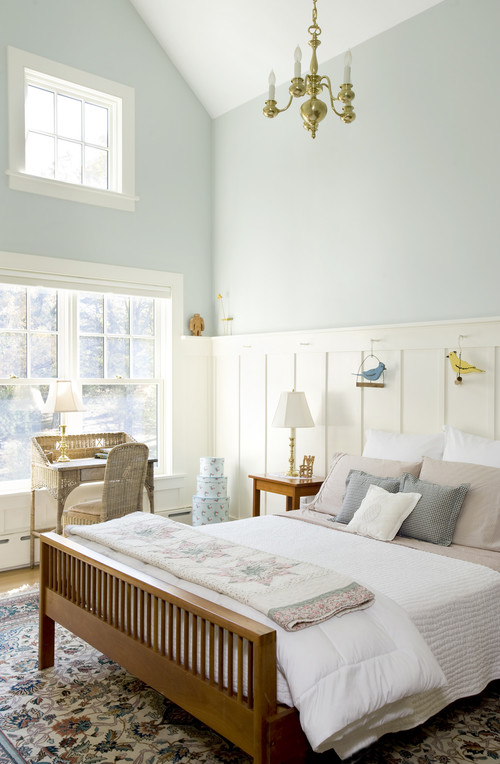
This pale aqua is super dreamy and serene. Not the feeling I'm going for in the living room, but it sure is pretty:

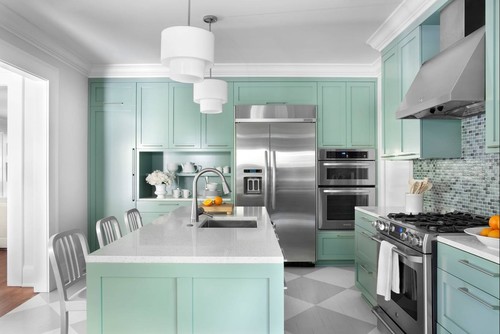
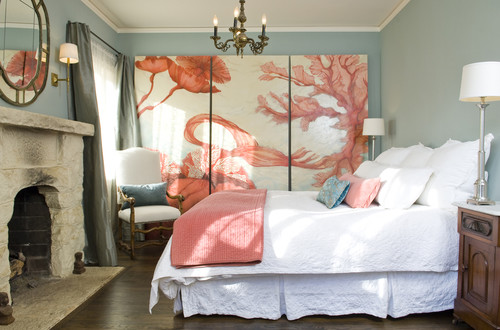
I like the warmth and richness of this one:


Okay, Photo overload. What about you all? Any pale minty aquaish paint colors you'd recommend I look into?
Pin It Now!
Related Posts Plugin for WordPress, Blogger...
Pin It button on image hover