Showing posts with label chevron. Show all posts

5 Ways to Incorporate Home Decorating Trends (without being trendy)


Everyone has his/her own style, which is awesome and what makes people unique and inspiring and yada yada yada. But sometimes, a trend will pop up that resonates with us...many of us...for one reason or another.
 
Of course, we can't swap out our entire home decor to go along with that trend (thank goodness...can you imagine?), nor would we want to. But there are ways to incorporate trends into our homes and lives without being trendY. Here are some decorating ideas for doing just that:
 
Trend: Chevron
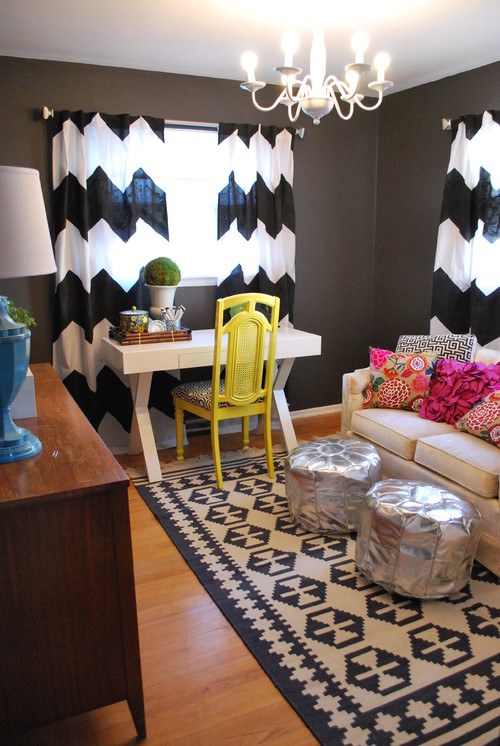
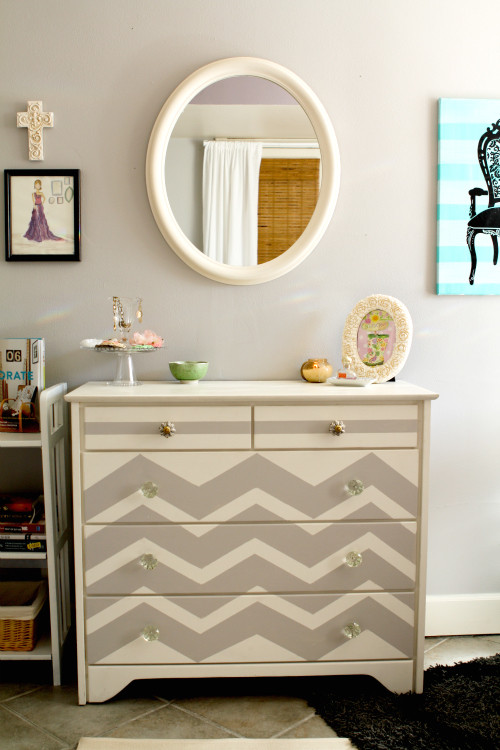
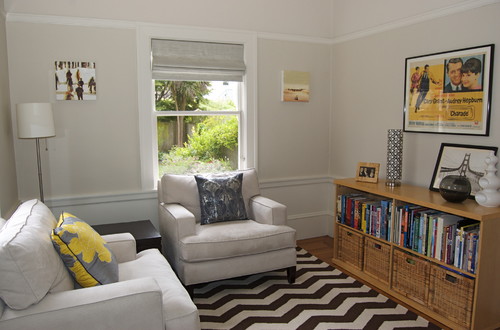
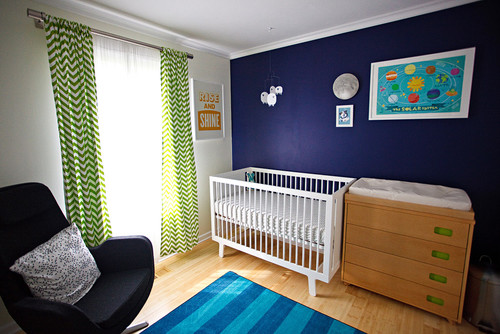
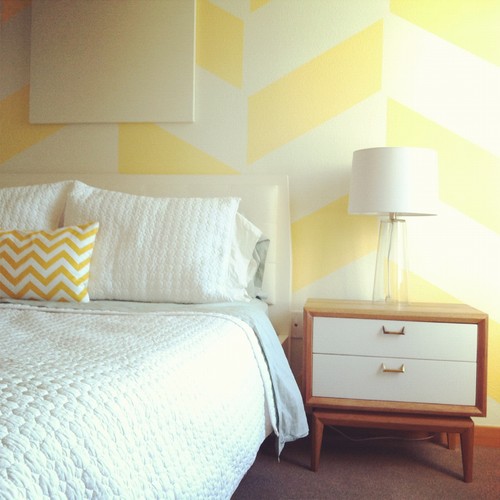
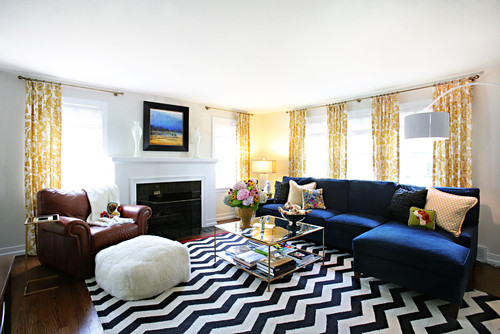
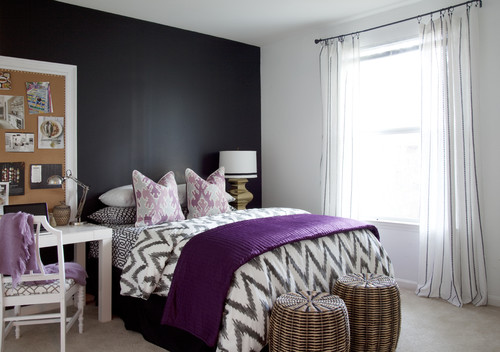
We've all loved this arrestingly graphic pattern, right? But instead of turning our entire homespace into a senses-assaulting array of zigzaggety-ness (don't worry; I have an English degree. I'm allowed, nay, encouraged to make up words; the more suffixes, the better), it's good to use relatively small and/or deliberate doses of chevron. Throw pillows, for example, are perfect. Buy (etsy or Hobby Lobby, for example) or make 'em yourself. It doesn't get much easier than that.
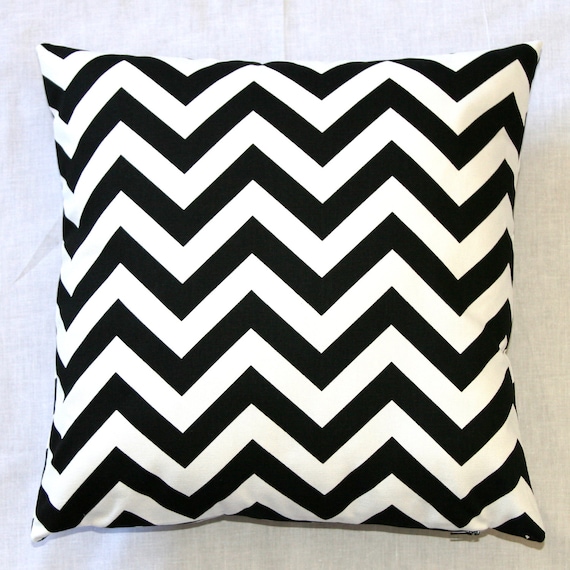

Premier Prints Black and White Chevron Pillow Cover- 18x18 inches- Hidden Zipper Closure
etsy


Trend: Trendy Colors
Emerald green has been heralded of the color of 2013, which is fine. I like green. But whatever the color-of-the-moment may be, one easy way you can incorporate it without breaking the bank is to use paint chips in one artistic form or another. This allows you to use as much of the color as you want, in a variety of hues and tones, and *bonus* it's a total DIY deal. Which happens to be one of my favorite things.
 
paint chip art
 
 
Trend: Ombre
I'm guilty of wanting to ombre-cize my house from top to bottom, I'll be honest. But hooray for me (and for all of you who visit here), I've refrained from doing so. This trend is particularly effective on one primary item in a space (e.g., furniture, bedding), and a little bit goes a long way as far as visual impact is concerned. Lots of bang for your gradient-laden buck.
 
ombre dresser
 
 
Trend: Neon
What child of the 80s isn't happy to see this one come around? Although, I must say that this trend, more than most, is one to approach with cautious enthusiasm. I don't think I need to explain where overdosing on neon could lead. (Blindness, for starters...) However, when used in carefully selected ways, neon of any color is exciting, energizing, and, well, fun. It's NEON, for heaven's sake! An especially impactful way to incorporate neon is via lighting, like this ghost chandelier. Modern, cheery, bright, but not in-your-face-blinking-OPEN-sign neon. Perfect.
 
not on the high street
 
 
Trend: Ikat
So, ikat has been around forever, but it seems to have made a recent(ish) debut in everyday homes. As a textile, it's easy to use ikat on throw pillows, bedding, etc. But I also (rather?) suggest incorporating it onto upholstered furniture as well, as an unexpected pop of free-moving pattern and color. I happen to love this little chair, for example; it took all of 20 minutes to reupholster the seat from an orangey suede to this hardy ikat. Bingo.
 
ikat chair

So, there you have it. Five simple ways to effectively use trends to freshen your space without being trendilicious. Do you have other quick, easy, and/or inexpensive ideas? I'd love to hear!
 
 
Pin It Now!

Master Bedroom Makeover: Floor (or How To Clean A Flat Weave Rug)

Master Bedroom Makeover
Day 3: Floor (a.k.a. Chevron Rug)
 
** Note: This post is part of a 12-step series in my master bedroom makeover. Links to the other (previous) steps are listed at the end of this post. 
 
So. We've got our inspiration board and have painted our walls. Today, we're going to tackle flooring...before we deal with furniture. See, isn't that so insightful of me? And plan-aheadish? I'm not normally so in tune to effort-saving chronology. Hooray for getting old & lazy.
 
You may or may not recall this post about how I painted a chevron rug long ago. Well, it hung out in our basement for a while, but then I had to use it outside (too long a story to tell you) (you're welcome), and it got, in a word, nasty.

Shockingly, I never got around to cleaning it. (Enter: eerily foreshadowish organ music.) Until today. Because I need a neutral yet patterned rug for my master bedroom, and this one will do just fine...if I can get it clean.

 
Some serious black marks on the fibers. To get rid of them, I pulled out my go-to cleaner for ev.ery.thing: OxiClean. If you guys have never used this product, you're missing out on the whitest whites and stainless...uh...est stuff around. This is miracle-in-a-carton, I'm telling you.

 
I cleared the tub free of debris ("debris" actually sounds suspiciously like "barBIE," an apt coincidence in our house of 3 little girls)...

 
...and filled it about half full with warm/hot water and a heaping scoop of OxiClean. After stirring it around enough so the OxiClean dissolved, I put the rug in there, swirled IT around to make sure all parts were wet and mostly underwater, and let it soak for a few hours. (You don't want OxiClean to dry or crystallize on your stuff, so about every hour or so I went back in to stir the rug a bit.)

 
Holy hannah, that water got nasty. Ugh.
 
The rug is fairly large, but because it's a flat weave, I was able to throw it into my washing machine solo and wash it up/rinse it out. If I couldn't do this, I would've probably taken it outside to hose down.
 
About 30 minutes and more than a few washer thump-thumps later, the rug was done. Not wanting to strain my aging dryer (and because I didn't know how the latex paint would take a high-heat drying session), I hung it over the railing to air-dry.
 
 
Turned out good as new. (I heart you, OxiClean!)
 
Here it is in the master bedroom. I may or may not change it around over the next few days. As you know, I have to sit with things in a space for a while to see if they really work or not.
 
 
Tomorrow is Day 4: Headboard. 

Check out previous steps during the 12 Days of Master Bedroom Makeover:
Pin It Now!

Chevron & Your Granny

**On a more serious note: My thoughts and prayers are with everyone on the East Coast right now. I can't imagine.**

I know that, for many peeps out there, chevron has come and gone. It will come and go again, to be sure, but for many it's knocking pretty firmly on Death's decor door.
 
That being said, I'm still a fan and a believer. Call me a granny who clings to things from the past...but, in my defense, they're awesome things from the past. Like:
- Back to the Future (one-point-twenty-one jigawatts!)
- Jon Bon J (wooooah, livin' on a prayer, take my hand and we'll make it I sweeeaaaar) (except when I was younger, I thought that saying the word "swear" was like cursing, so I changed the lyrics to say, "...and we'll make it I pro-mise" haha! the beginning of the end of my nerd-dom),
- leg warmers (hello: practical, convenient, AND stylish), and
- Snapple (when was the last time you've had one? it's been way too long, for me, but those things were tasty). And, yes, now chevron.
 
How can you not love a print that contributes like this:
 

source
 
source
 

source


source
 

source
 

source
 
Happy costuming! We're getting close...to producing the saddest awesomest werewolf specimen known to man, with a bit of brown felt and an authentic Lithuanian shapka.
 
That's right. Teen Wolf, you've got nothin' on our block.
Pin It Now!

thrift store tray becomes runway model! (kinda)

Trays are wonderfully subtle items that infuse a bit of style into a space without screaming, "Hey everyone, look at me!" They're also very practical, for serving food at parties, holding utensils at family gatherings, keeping keys and sunglasses and miscellaneous stuff quarantined by the door, etc. They're not only fun but incredibly useful.

I thrifted this baby for about $2 last Fall.


Thought it had potential, with the cool iron edging and solid wood base, although it was a bit scuffed up and had the look of check-out-what-I-did-at-craft-night. (Craft nights are great, mind you...I just prefer that the finished product doesn't give that impression right outta the gate, you know?) 

I took it apart, spray painted the metal navy and primed and painted the wood base white. After the base dried, I taped out a chevron design, which I then painted grey. Went over the whole thing with wipe-on polyurethane. This is the end result (my first attempt at chevron pattern...I learned some things). The tray sits on a chartreuse console table, and I love the color combo of all of it together.


I'm still working on a vignette for the top of the tray (ideas, anyone?), but in the meantime, I think it's an improvement over the original tired old painted cherries. Nothing against cherries, of course. They're a delicious fruit.

{shared here and here}
Pin It Now!

how to paint a rug (chevron)

So, maybe chevron (zigzag) pattern is a has-been for some of you, but I'm still deeply (wipe a tear) deeply in love with it. Especially rugs. I've wanted one for a while now. Like these:


But I just couldn't bring myself to fork over the cash for one. Enter the five-star idea in cyberworld that you can actually paint your own rug. Genius.

I bought an inexpensive plain flatweave rug from Ikea. Decided on the size/scale of ziggity-zagness I wanted, then proceeded to spend 40 days and nights marking it out and taping it. Okay, fine, not that long...but close.

Here's how: let's say I wanted the top points to be 10 inches apart. I used a marker and a measuring tape and, going along the top of the rug, made a small mark every 10 inches. (These I made sure to paint over.)

Then let's say I wanted each zigzag to go down 6 inches. I measured 6 inches down from the top of the rug (where I had already marked) and laid my measuring tape straight across. (I used the woven rug lines to determine straightness.) I then made a mark 5 inches in (or whatever is half the distance of your previously marked distance), then proceeded with every 10 inches thereafter.

How we doing, are you following this?

From the 2nd line of marked dots, I then measured 6 inches down (or whatever zigzag height you're using), laid out my measuring tape straight across, and made a dot at 0 inches in and every 10 inches thereafter. Repeat until you're all the way down your rug.

 
As you're taping, make sure you're taping with painting the chevron in mind - you won't put tape on the bottom of all the lines, for example. You'll alternate top, bottom, top, bottom...so that as you paint, you're painting the full distance of your zigzag stripe. Your tape will actually look a little off, because every other zigzag stripe will look skinnier than the other.
 
That explanation is wonky, I know. Try to check the photo above to see what I'm talking about. Heh.
 
I'd planned all along on using a reddish paint, but I made a last-minute decision to go slightly more muted with a paint color called "toasted almond," mostly because I already had nearly a full quart on-hand and it's a pretty color. (My sincerest apologies to those of you Google Search users coming here amid your quest for ways to toast almonds. Feel free to create your own blog post on roasting the nut and calling your method "painted rug" just out of spite. I'd understand.)

(ahem)
 
So. I simply dipped my dry brush in the paint, wiped off the super-duper excess, and dab-painted my little heart out. Brush strokes were challenging, so I mostly did dabs, which also helped to keep the taped lines a little crisper. I think I did two or three coats, because the rug absorbed some of it.
 
I'm happy with the color and the way it turned out. I like the dry-brush effect; it seems instantly antiquated, but in a more subtle way than if the color itself were darker. Also, slight paint bleeding under the tape isn't obvious, and the zigzag looks crisp and sharp.


I just threw the rug down on the floor for your viewing pleasure here; it obviously needs to be integrated into the space. What do you guys think? Have you ever painted a rug? Did you like it?
 
Addendum: If you're so inclined, check out how this rug was used in our master bedroom. It currently lives, quite happily, in our simple guest bedroom. Sneak peek of the latter:
 
 
Featured! 
Photobucket   
 
source
  
Pin It Now!
Related Posts Plugin for WordPress, Blogger...
Pin It button on image hover