Showing posts with label throw pillows. Show all posts

How to Sew a Patchwork Accent Pillow (DIY)

If you're like me, you probably have a bajillion fabric scraps lying around.
(Hopefully, for your sake, that's where the similarities end...because I do things like burn dinner and "forget" to make my bed.)
 
Let's use those scraps to make something Mr. Anthro Paul Ojee would be proud of, shall we?
(For the record...I'm not proud of that last sentence. Apologies.)
Enter: DIY Patchwork Throw Pillow Tutorial. (Check out this post for other patchwork eye-candy, if you're so inclined.)

Transforming an old drab throw pillow into a patchwork accent pillow is cheery, it's bright, and it costs nothing, or very very little (if you need cording, for example, you might have to buy that).

 
Read more after the jump...
Pin It Now!

Patchwork Furniture, How Do I Love Thee?

I heard somewhere that granny squares are making a comeback. Awesome.

On a semi-unrelated note...let's talk patchwork. I have no idea if this is making a "comeback" or not, but I really and truly love patchwork in unexpected places. Like on furniture. So fresh, fun, and dare I say rebellious?

Yes, yes I dare.
(But this blog is written by a girl with a rebel's heart, so beware. Case-in-point: I ate oatmeal cake for breakfast. So.)


source
source


source

source
source


You all know by now, because I keep blabbing incessantly about it (cough and sniff), that I'm reupholstering a settee. (Tutorials forthcoming.)

The throw pillows that came with the settee were screaming for a makeover. And, hey, what better facelift than patchwork?


I heart them.
I think (hope? fingers crossed) they'll be a nice brightening touch for the new settee.


If you want, feel free to check back here tomorrow for a full-blown tutorial on an easy way to make these bad boys.
Pin It Now!

5 Ways to Incorporate Home Decorating Trends (without being trendy)


Everyone has his/her own style, which is awesome and what makes people unique and inspiring and yada yada yada. But sometimes, a trend will pop up that resonates with us...many of us...for one reason or another.
 
Of course, we can't swap out our entire home decor to go along with that trend (thank goodness...can you imagine?), nor would we want to. But there are ways to incorporate trends into our homes and lives without being trendY. Here are some decorating ideas for doing just that:
 
Trend: Chevron
We've all loved this arrestingly graphic pattern, right? But instead of turning our entire homespace into a senses-assaulting array of zigzaggety-ness (don't worry; I have an English degree. I'm allowed, nay, encouraged to make up words; the more suffixes, the better), it's good to use relatively small and/or deliberate doses of chevron. Throw pillows, for example, are perfect. Buy (etsy or Hobby Lobby, for example) or make 'em yourself. It doesn't get much easier than that.


Premier Prints Black and White Chevron Pillow Cover- 18x18 inches- Hidden Zipper Closure
etsy


Trend: Trendy Colors
Emerald green has been heralded of the color of 2013, which is fine. I like green. But whatever the color-of-the-moment may be, one easy way you can incorporate it without breaking the bank is to use paint chips in one artistic form or another. This allows you to use as much of the color as you want, in a variety of hues and tones, and *bonus* it's a total DIY deal. Which happens to be one of my favorite things.
 
paint chip art
 
 
Trend: Ombre
I'm guilty of wanting to ombre-cize my house from top to bottom, I'll be honest. But hooray for me (and for all of you who visit here), I've refrained from doing so. This trend is particularly effective on one primary item in a space (e.g., furniture, bedding), and a little bit goes a long way as far as visual impact is concerned. Lots of bang for your gradient-laden buck.
 
ombre dresser
 
 
Trend: Neon
What child of the 80s isn't happy to see this one come around? Although, I must say that this trend, more than most, is one to approach with cautious enthusiasm. I don't think I need to explain where overdosing on neon could lead. (Blindness, for starters...) However, when used in carefully selected ways, neon of any color is exciting, energizing, and, well, fun. It's NEON, for heaven's sake! An especially impactful way to incorporate neon is via lighting, like this ghost chandelier. Modern, cheery, bright, but not in-your-face-blinking-OPEN-sign neon. Perfect.
 
not on the high street
 
 
Trend: Ikat
So, ikat has been around forever, but it seems to have made a recent(ish) debut in everyday homes. As a textile, it's easy to use ikat on throw pillows, bedding, etc. But I also (rather?) suggest incorporating it onto upholstered furniture as well, as an unexpected pop of free-moving pattern and color. I happen to love this little chair, for example; it took all of 20 minutes to reupholster the seat from an orangey suede to this hardy ikat. Bingo.
 
ikat chair

So, there you have it. Five simple ways to effectively use trends to freshen your space without being trendilicious. Do you have other quick, easy, and/or inexpensive ideas? I'd love to hear!
 
 
Pin It Now!

Master Bedroom Makeover: Pillows & Bedding

Master Bedroom Makeover
Day 11: Pillows & Bedding
** Note: This post is part of a 12-step series in my master bedroom makeover. Links to the other (previous) steps are listed at the end of this post.

Let's stroll down memory lane, shall we? That grass pillow on the ol' inspiration board. I love it and decided I'd attempt my own version using fabric left over from this project. It turned out pretty and organic and pretty organic, and I thought maybe someone out there might want to make one, too.


 Here's how I did it:
 
Cut out fabric to fit the back side of the pillow - cut this exactly to size. Then cut out fabric to fit as the front piece of your pillow - cut this roughly 1/2" wider but exactly the same height as the back.
 
Using a photo or your imagination as your guide, loosely pinch and pin fabric to match the outline you want.


Don't pin too much (deep) of the fabric; just a shallow pinned
guideline works great.


In order to keep your "grass" stems from being too thick/deep and making your pillow front too small, sew super close to the edge of each pinch.  
 
(On an unrelated note...my sewing machine lighting is in its own world.)
(Annnnd a manicure is in order.)
(And a milkshake, as long as we're ordering stuff...)


This next part will sound weird and probably won't make sense, but I'm going to try to explain. The lines you pinned are likely pretty straight, but we don't want the grass to look like the shortest distance from Point A to Point B. We want it flowing and organic. To achieve this, as I sewed, I unpinned the upcoming pin and kind of rolled the fold of the fabric side to side slowly between my thumb and forefinger. Not a ton, but enough to give the sewn line a kind of waviness.


Do that all over, varying the lengths/heights of the "grass" seams. Place the new grass-sewn pillowfront on top of the pillowback, RIGHT SIDES TOGETHER. Sew them up along 3 edges. I added in a zipper here. (No pics here, sorry! I was trying to get it finished. You can google a zipper tutorial if you've never sewn one in...or simply hand-stitch the last side.) Clip the corners.

 
Add the pillow form. Not half bad.

 
Put it on your new DIY'd ruched duvet cover (made for $25 out of two flat sheets from Walmart) with some other pillows.
 

Or no other pillows. Simpler. Better.


Tomorrow is Day 12 (last day! *sniff*): Odds & Ends and Putting it All Together.

Check out previous steps during the 12 Days of Master Bedroom Makeover:
Pin It Now!

Delightful mixed patterns

We're going crazy getting ready for Halloween around here. Which, if you know me well, easily translates into: I'm hucking some duct tape in my kids' general direction and yelling, "Make your own dang costume!"
 
Just kidding.
 
(Kind of.)
 
Anyway. In the festive vein of random yet delightful appearances, here are some mixed pattern decor lovelies:

Unique and fun spin on the traditional (and, dare I say, often stodgy) red-white-and-blue palette:

Patterns are all similar in size but in the same colors so that they don't compete too drastically. Plus, the Ikea chandelier ties in with the chair prints, which is cool. And how about that power-punch green artwork on the wall there? Love.

This is a delightfully busy, cozy dining room, from the wallpaper to the bamboo dining chairs to the chevron wingback. Good call on going with a plain natural weave (sisal? jute?) rug.

Super sparse bookcase contents helps the background pattern to shine. The varied scales of patterns build cohesion all around...plus, the crab painted on the garden stool? So great.

Serenity amid some pattern mixing. This speaks to me, although if I'm being honest (and I am), the sparseness would be hard for me to replicate.

source
Pin It Now!

Living Room Makeover

** Addendum: If you're interested in seeing further updates to the living room, check out this post. **
 
Remember how last week was supposed to be living room makeover week? Yeah...well, a day (or week) late and a dollar (or more) short. That's me.
 
Even though it's not finished (it won't ever be "finished," that's part of the fun!), I've loved incorporating a variety of living room ideas that have resonated with me into this space. This has been a slow process for me (going on six years now)...I wonder what the next six years will bring...
 
So. Buckle up for transformation time. This minivan lady can haul.
 
It's a pretty basic/modest living room design; here's the room before:
 
 
You guys, so many things about the setup above I want to address but am almost embarrassed to. Furniture pushed up to the walls and a wiiiiiiide open No Man's Land in the middle of the room, the blinds-only windows, the plant with a single huge stalk being held up by the wall (whut the...), the grossly undersized clock above the mantel, the two 80s track lights, the unintentional focus on an unused stark fireplace, the blah-ness of it all.
 
 
 But here's the thing. We didn't have money (or it wasn't a priority) for a huge one-stop living room overhaul. I've had lots of living room decorating ideas over the years, though, so we've changed things up and out, one piece at a time. 
 
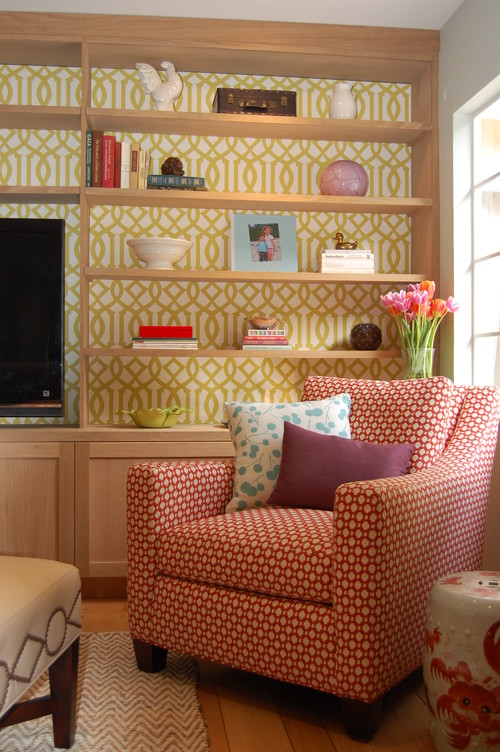
Over the course of a few years, the living room coming closer to how I actually want it. It's certainly not perfect now, but here's where we're at today:


We've changed a lot (starting with the color scheme), and it's still a little busy. But I love it so much more as a room that's closer to what our family is all about.


We changed the paint color (BM Phoenix Fossil 3/4), added ceiling-to-floor drapes (Amy Butler), added bookcases to flank the fireplace (Ikea) and painted the backs, changed out track lighting...for more track lighting (Lowe's), added a large mirror above the mantel (TJ Maxx), added a rug (Overstock), added old & new furniture, and did some DIY projects (sunburst mirror, reading lamp, throw pillows, etc.).

 
I love how mixing old and new tells "our" story. Like my gramma's ottoman that I recovered with an Ikea sheepskin, this vintage trunk as a coffee table, the reupholstered thrift store 
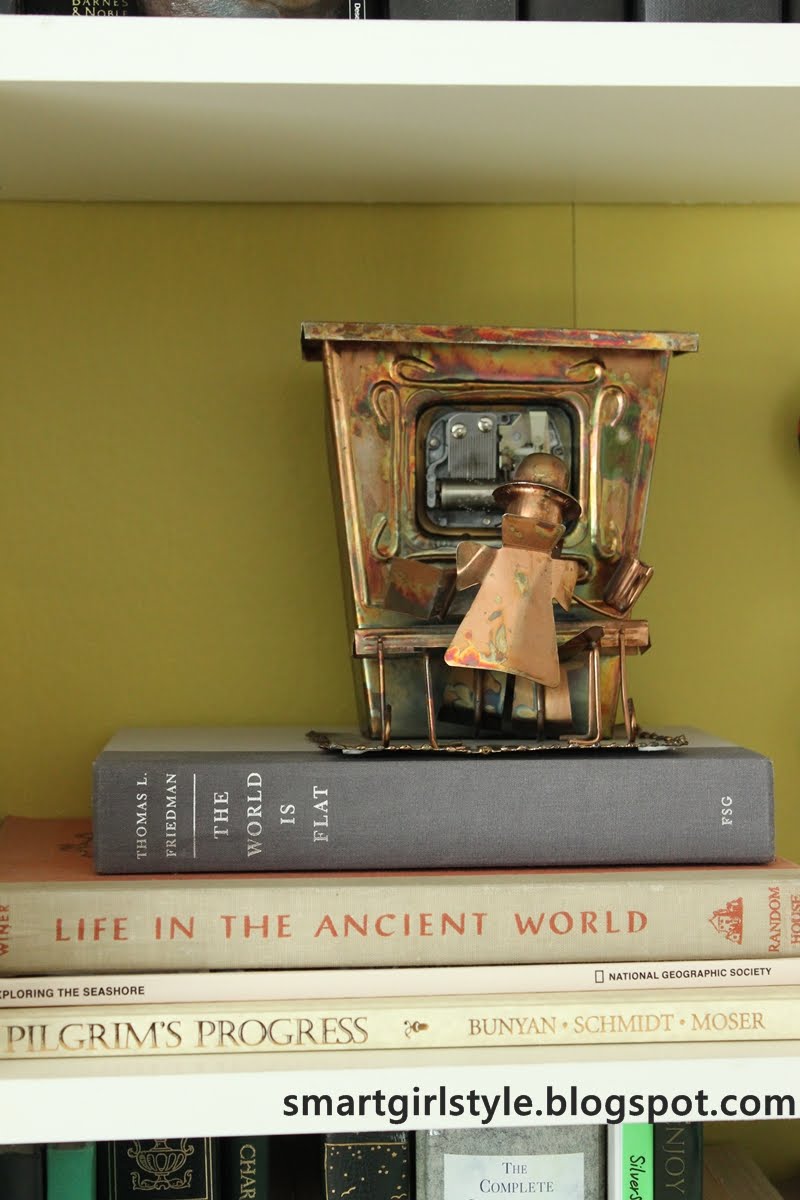
tulip chair, the bookshelves filled with books and objects from my childhood (which are now weaving themselves into the childhoods of my own children).
 
 
I'm working on trying to increase the calmness of a space by being well-edited. Not there yet, but I'm learning my own style as I go.


It's a work in progress. For life. But a fun work in progress!
 
 
Some projects still looming: slipcover the grey loveseat, find another lamp (or pair of lamps) for the white sofa, make the bookcases look more built-in, and redo that light blue side table.


What people see immediately when they walk through our front door into our entry way:
 
 
I don't think decorating a living room space is ever "done." At least, not for me. Which...hooray! Because changing things up brings me joy.
 
 
Annnnd, one more time. Just because it's like a cyber-pat on the cyber-back:
 
 
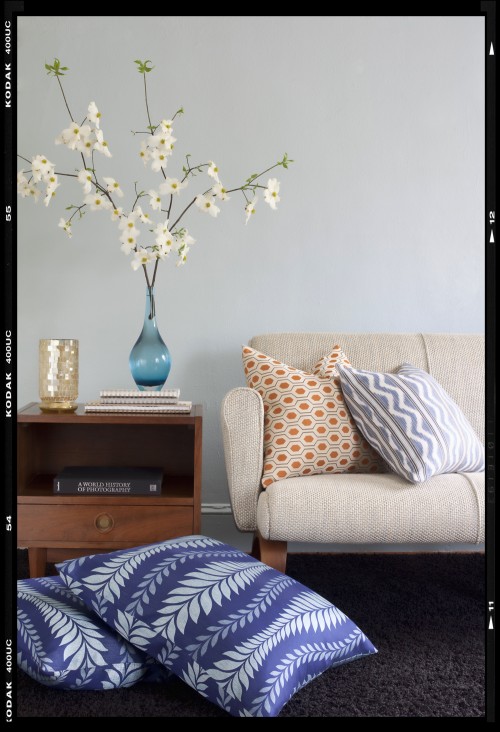
Addendum: I'm constantly changing things up... Exhibit A: This sneak peek into the most recent living room changes:
 
 
If you're interested, check out my most recent living room update, some of my other room makeovers, or the full (yet incomplete) house tour
 
Have a wonderful week!
xox 


Featured!
    My Uncommon Slice of Suburbia   New Nostalgia
 
also shared:


TDC Before and After
Pin It Now!
Related Posts Plugin for WordPress, Blogger...
Pin It button on image hover