Showing posts with label family room. Show all posts

Home Office Makeover...Almost Done...

This post is written in collaboration with CozyWallArt.com. Opinions expressed are 100% my own.
 
Hey guys!
 
I apologize for my absence over the past week. We've been a bit sick around here, plus I picked up
Gone With the Wind on a whim last week and couldn't blog because that book is a saddening 1,000+ pages. Priorities, people.
 
Anyway. You perhaps read about my excruciatingly un-inspiring home office and how I was determined to do something about it.
(Who are we kidding. You've lost sleep over it, I know you have.)
(You haven't? In fact, you've never even heard of me and this is your first time to this little part of cyberspace and so far you think I'm odd and too tangential? Huh. Welp, I'll say this for you: You're insightful. And welcome.)

So, between my wanting to throw my book across the room in frustration over Scarlett O'Hara and my rocking and holding and rocking some more my very sweet-clingy-sick toddler, I actually got started on the home office makeover. 
 
Here's the super awesome and accurate mockup of my vision:
 
 
Annnnd, here's a sneak peek of the real thing:
 
 
My first order of business was to delineate just, exactly, where the home office was going to be in the corner of my family room. I did this by painting a 9' section of the corner wall white.
 
 
I then got these jacks decals from CozyWallArt in black. (You guys might remember this other recent project I did with awesome decals from CozyWallArt.)
 
 
I used the 6" ones and spaced them one-per-square-foot. Originally, I had planned on using 10" jacks and spacing them one-per-14-inches. But the awesome designers at CozyWallArt, who knew the size of my wall, thought that the end result might not end up how I was envisioning. They sent me some .pdf files depicting a few different layout options - and they were absolutely right. I changed my order right away. You guys, this company is the real-deal for quality and for wanting what's best for the customer.
 
 
I used a measuring level and dotted out a grid on my wall - 12" between dots, and each dot would touch the same spot on the individual jacks. I also used a level on each jack before firmly placing it on the wall.
 
 
Oh yeah. Every once in awhile, I'd stand back and check out the growing geometry of the wall. Love the retro, almost sputnik vibe of these jacks and how, overall, they look like super retro-modern geometric wallpaper.
 
 
I had to choose between making part of the top jacks go onto the ceiling or part of the middle jacks go onto the chair rail. I chose the former, and I'm happy I did.
 
 
I like how the chair rail kind of disappears with the graphic wall. And I looove the graphic wall. It was surprisingly quick to put up, too - maybe took 3-4 hours, including measuring and leveling and all. Maybe less.
 
 
 I moved office stuff around to make it work better for my home office space. There are now two chairs, and two workspaces, instead of one. The desk itself is cleared off, which makes it much easier for using it as an actual work station.
 
 
I got the green chair for a few bucks at a thrift store - it was previously an ugly not-cream-not-brown color (you know the color I'm talking about), so I spray painted it this happy kelly green. Also, you can't really see it in this photo, but the lamp is a sweet vintage desk lamp that was also an unfortunate shade of brown but was brought into this millennium with some black spray paint.
 
 
I'm awaiting the arrival of a rug (should come in a couple of days). And I'm on the hunt for the perfect simple-retro wall clock. But, that being said, I genuinely couldn't be happier about the change to this little corner of our family room.
 
Don't forget to check out CozyWallArt.com for yourselves. In my opinion, their decals on the wall are the best part of this very basic home office upgrade. In fact, my husband was working down here yesterday and said he liked being able to look at the geometric wall as he worked. I think it's mentally stimulating without being distracting, you know? 
 
Do you have a "home office" space? What do you guys think is the best or worst or most important component of a successful home office?

(shared: Mums Make Lists)
Pin It Now!

A Geometric Wall & A New Home Office

Somebody around here has mad graphic design skillz. I'm not necessarily saying it's me, but...
 
 
Behold, the very professional and highly detailed mockup of the basement home office transformation. You probably don't need an actual photo after this little number, do you. Heh.
 
Okay, fine.
 
Let's start at the beginning. My computer is housed in a (previously) dark, messy, and uninspiring little corner of our family room. To make a very long story very short, I got tired of the dust bunnies and constant clutter and yuckiness of the space.
 
Immediately after spying this graphic Cozy Wall Art decal, the wheels in my head started spinning toward something like these, only office-style:
 
source
 
source
source
 
Come back tomorrow to see some progress toward this kind of awesome wall graphicality.
 
Pin It Now!

Ottoman & Decorators Tape

Happy New Year! I love a new year and a fresh start and I swear this is going to be the year I exercise religiously...starting tomorrow... :)

Ready for the super-simplest (and, frankly, so-lame-it-probably-shouldn't-be-blogged) project known to man? Here:
 
Our family room is home to this big box of a hinged-top ottoman:
 

I rescued it from craigslist last summer, and if you think it's nothing special now, believe you me, it was hideous then. I painted it out in a random light blue I had on hand and quickly (and, if I'm honest, carelessly) reupholstered the top (because not all projects are created equal for me, what can I say) with this fantastic herringbone fabric my friend found at HomeFabrics for like $1 a yard.
 
I just wanted something sturdy that the kids could jump onto or off of, and that would store unsightlies, and that our feet could lounge atop whilst we watch awesome shows like American Pickers on the history channel.
 
Check, check, and check. And a bonus point for casual use of the word "atop."
 
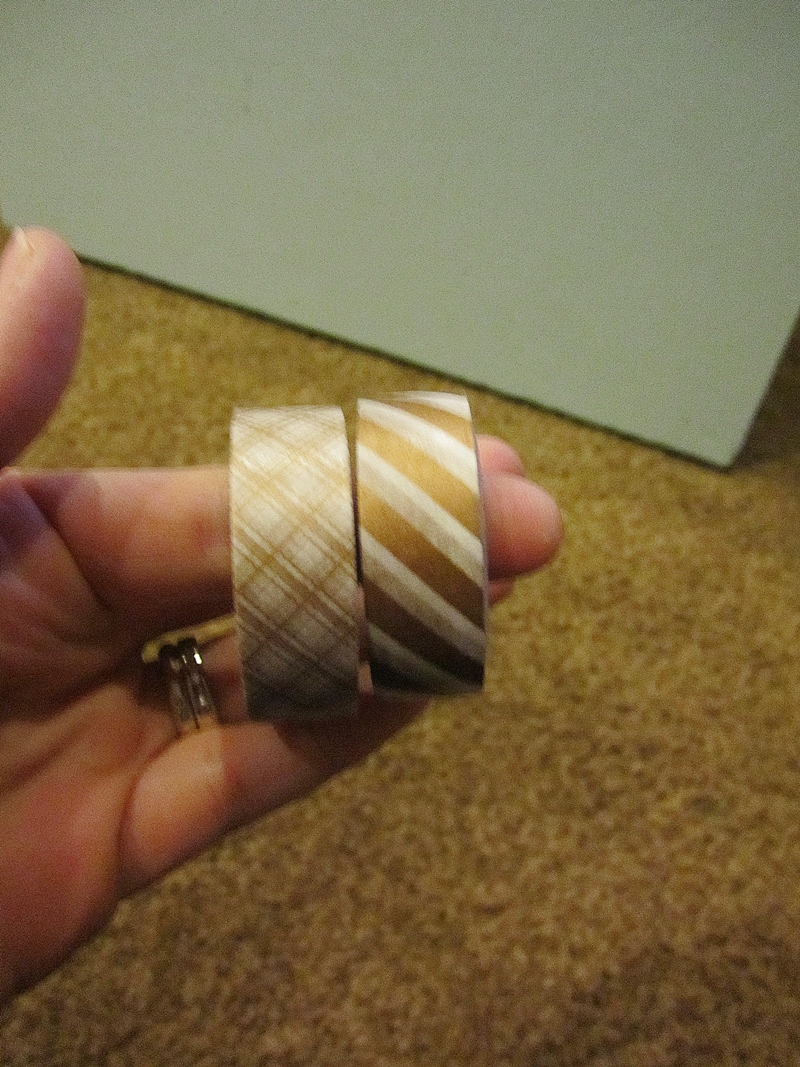
However, I've always felt like the blue sides were a little too, well, mass-o-solid. I had some decorators tape on hand today and thought I'd add a little detail while I watched the kids wrestle their dad.
 
So I took a blurry photo for you all...


...and taped out a frame in about 5 minutes. Kinda wild, what with the diagonals going every which way, but I actually don't hate it with the herringbone.


Then the tape started peeling off a little bit, so I mod podged it back on. Because nothing says "permanent furniture makeover" like peeling tape and mod podge.
 
And if this project isn't the catalyst to a wildly successful and home-improved new year, well, I don't know what is.
Pin It Now!

How to Paint a Harlequin Diamond

 
What do you get when you cross a timeless harlequin diamond pattern...
C151-91-342 By Sterling Lighting Table Lamp
source

...with the vibe of 1920s mens swimwear?
source
 
The newest addition to my vintage (read: thrifted, dirt cheap) furniture collection.


I know it's not exactly super trendy or fashionable right now, but I've been in love with harlequin diamonds for many moons. (Yep. Moons. Many.) And I've been NOT in love with the color of this mid-century-modern table for quite a while as well.


I thought I'd take a stab at painting harlequins. Tougher than one might think, especially if you want to get it done in one fell swoop like me (rather than wait for paint to dry before re-taping and re-painting a bunch of times).
 
So. I cleaned the table and eyeballed the size of diamond. I wanted irony and whimsy here (translation: oversized), what with the random mix of styles and time periods and colors and patterns. Started taping out the bottom part of the first two diamonds.
 
(This table actually made recreating the pattern fairly easy, as I was able to follow the grooves.)
 
To avoid having to re-tape and re-paint, I simply cut the tape to the exact size on all diamonds from the get-go.


Using a right-angle was key for horizontally lining up the diamond corners. Also, it was important throughout this taping process to keep in mind inside-of-diamond versus outside-of-diamond. Sometimes I started going, and what "should" have been the outside edge of the tape actually was the inside edge of the diamond, so just keep checking yourself.

(This is making no sense, is it. Sighhh...)
 
I measured the height of first (bottom) half of the diamond (mine was 6.75"), then measured that length again for what would be the top half of the diamond (total diamond height = 13.5"). I laid the right-angle down at the 13.5" mark.
 
Taped from the side angle/corner up to the center point at the right-angle height.


It took me a while to figure out where and when to cut tape. Fortunately for my sanity, I had an adorable cheering section.

 
Like I said, keep in mind inner- and outer-edges. The tape is a little like an optical illusion. Basically, the overall aim was to tape one diamond at a time and then trim the tape where necessary to be able to paint neighboring diamonds.

 
Done taping. Phew and phew. (I did medium-width horizontal stripes on the upper table sides to maintain a pattern but keep it less busy overall than what a perpendicular harlequin diamond would have been.)

 
Next up: paint. This was pretty easy. I used some leftover from this project. Make sure you maintain clean paint edges. (Tips for how to paint a crisp line here.)

 
Peel off the tape, let paint dry. If you want a crisp, clean harlequin pattern, I'd go ahead and wipe on some polyurethane (or sealant of your choice) and call it good. As for me, I wanted a vintage 1920s circus-meets-ocean-front vibe. I wanted age. And a false sense of history.
 
Break out the electric sander and go to town.


Wash all surfaces of sawdust, then seal with wipe-on poly.


Now it sits at the corners of the two ugly yet ridiculously comfy sofas in our basement FamCave. I couldn't love the thing more. So unique!
 

Pin It Now!

Family Room: House Tour

Our family room is in the basement. It's a large room, hindered only by the fact that there's a load-bearing post right SMACK in the middle of the room. Awesome.
 
Although the basement has seen its share of terrible furniture (how I wish I took photos of each phase. very entertaining.), here's what it looked like a few years ago:
 
(Photo taken circa 2009.)
 We knew when we bought the house in 2006 that the basement carpet would be the first thing to go. It only took a major basement flood in early 2009 (just, y'know, three years later) to get us to actually replace the carpet. Oh, and the flood destroyed the bottom of that wall o' cabinets. 
 
Although my vision for this space is bright, we haven't spent a ton of time working on making over the family room. Because we want it to be a hang-out comfort zone, where wrestling matches and buttery popcorn and workouts abound.


And don't forget this little lovebug! (Not sure why it's missing from the above photo.)

(Photos taken circa 2012.)
Yeah, it's a total rec room. Definitely won't win any design awards, but it works perfectly for our family!
 
If you're interested in touring other rooms, click here.

Pin It Now!
Related Posts Plugin for WordPress, Blogger...
Pin It button on image hover