
Remember this guy?

I'm the lucky heiress of two of these *matching* carpet-covered wooden trunks from my gramma's house. These things are 30+ years old. My creative gramma had glued on the carpet remnants and used the trunks playfully to hold dressups. I have a zillion happy memories of playing dressups with cousins in her basement. But these trunks have been tucked away in the far corners of my basement because even rose-tinted nostalgia isn't enough to make me love them as-is. No. They must be prettier to win my love.
(Criteria applied to furniture only! Not my kids or anybody else! I swear!)
I had a thought the other day that they might actually be pretty sweet trunks underneath their shaggy fur. Maybe. Today's the day of reckoning. I started with just one trunk, in case things went horribly wrong. (Which can't be ruled out around here whenever me + tools...)

I used a wedge and hammer to peel the carpet pieces from the wood, keeping the wedge's flat side up to minimize damaging the wood. Which, due to the sheer volume of glue applied, was impossible. But I did my best.
What's this? Some old wordage painted on the box? Yessss...

Here she is about 4 million hours later. Magnificent vintageousness.

But even Cinderella and her mice friends needed a little boost from her fairy godmother. (An apropos metaphor that explains the mouse droppings...ugh and eww and sca-ry!...I found while pulling up the carpet...)
Enter my new BFF: adhesive remover.

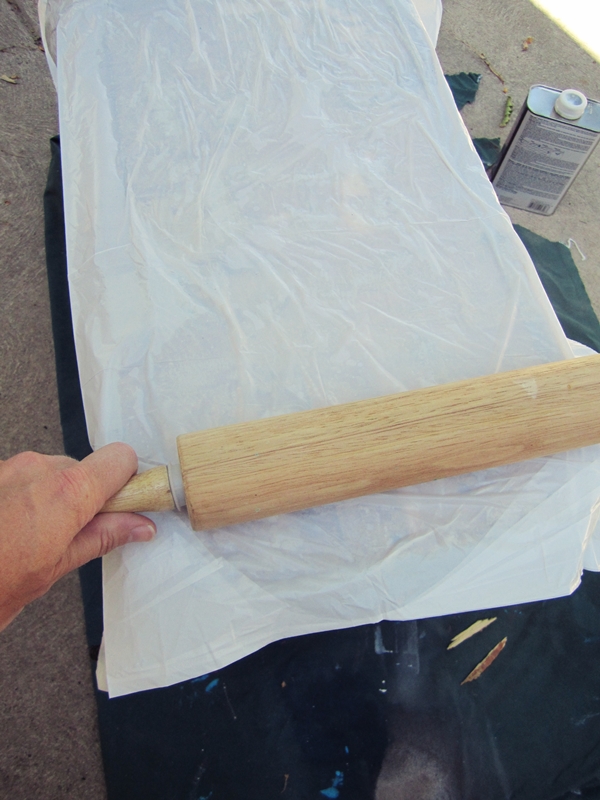
I followed the instructions on the back of the can. 'Cept I used a rolling pin to squish the adhesive around under a plastic garbage bag. And I didn't use gloves. Until one teensy tiny little drop of that stuff got on my skin, and it burned BAD about 1 minute later. So then I got some gloves. And also, I ditched the rolling pin and just used the putty knife to spread the adhesive.
Following directions: Fail.
Saving skin: Pass, but with room for improvement.
See how nicely the yucky old glue just scrapes away after using this stuff?

I wiped the putty knife off onto a paper plate after each pass. Yummy.

Note to self: make sure hair is securely tied back before embarking on this project. Mine quickly escaped its pony and proceeded to impair my vision throughout the project. Totally annoying. Learn from me, people. It's why I'm here. (Along with keeping the pnut butter m&m industry afloat, of course.)

Here's the trunk top before adhesive remover:

Annnd after:

(More words! "Time fuzes." I discovered that this was once a grenade-carrying box. So cool! But it does raise a few questions for my gramma...)
After the adhesive residue dried, I did a quick sanding of the trunk, being careful not to sand away the words.

There she is. Good ol' Chippy the Trunk. Isn't she a cute little grenade box? Love the random blue painted corner.

But can you see how the sides of the trunk, which were exposed over the years, are such a different color than the top and front, which were carpet-covered? I don't love that.
Trunk renovation to be continued...
(Addendum: View the completed whitewashed trunk as living room coffee table here. Sneak preview below.)
(Addendum: View the completed whitewashed trunk as living room coffee table here. Sneak preview below.)

You are a delightful individual who must take me thrift store shopping OR simply come visit so I can finish the projects that are sitting around
ReplyDeleteJulie, YOU are the thrift-master. Next trip down your way (soon!) must include a stop at some thrift store, mmmmkay? Sweet.
Deletep.s. Brooke & I were talking about "simply coming to visit" you. Hopefully in the near future. We miss you!
These little ammo boxes are hard to find! I bought 3 this size and 3 twice this size last year and now I can't decide what to do with them. Love the idea of using as an ottoman. :-)
ReplyDelete