Showing posts with label metallic. Show all posts

Easily Customized Ikea Wall Lamps

As much as I love Ikea's affordable furniture designs, I don't usually take their products at face value (as evidenced here, here, and here) (and I guess here). Meaning, I typically change them up in some small (or big) way to make them unique and better fit my space and style.
 
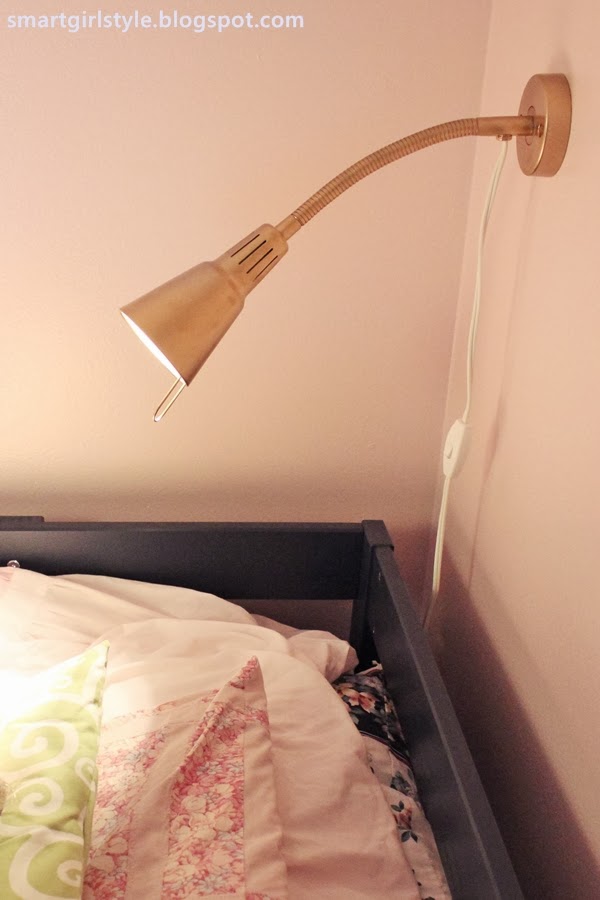
Even the tiniest changes make a big difference. For example, I got two Kvart wall lamps for the girls to read in their bunk beds. They weren't my first choice of lamp, but I was getting desperate.
 
 
They were...fine, I guess. But I wanted my girls to have something a little more special than a straight-from-the-box cheap-o silver light. So, with the help of a little spray paint, I gave them a straight-from-the-box cheap-o gold light, instead. I'm sure you'll agree: much better. Right, guys?... Guys?... Friends?... Aw, nuts.
 
 
Anyway. I left the cord in the bag and Frog Taped everywhere else where I didn't want paint.


After making these necessary preparations, I proceeded to cover the lamps in two light coats of gold spray paint. (Apparently, I like a touch of gold in a reading lamp. Rorschach that out for me, will you?) Mounted them on the wall as easy as you please, and BAM. Golden light from above.


Here they are, double-mint style. The cutest thing is when I come to tuck the girls in at bedtime and one of them is propped up on pillows, asleep with a book on their lap, lamp a-blazin'. Good thing they're LED.

 
I'm just glad the little ladies are happy and feel special. That's really all I'm going for. Well, that, and an easy project crossed off ye ol' To-Do list.

(Check out the entire girls bedroom makeover if you'd like!)


{shared: Chic on a Shoestring Budget, Fingerprints on the Fridge, Fireflies & Jellybeans, My Romantic Home, Remodelaholic, Shabby Nest, Simply Designing, What-About}
Pin It Now!

Ikea Hemnes Dresser + A Racecar Stripe

**Addendum: See the complete(ish) bedroom makeover here.**

Question: "Can you paint Ikea furniture?" Answer: Yes!
And what's more, you can do a relatively simple upgrade with big-time impact. Paint furniture, then paint stripes to create a two-thumbs-up Racecar Stripe Painted Dresser. Great for a boy bedroom (at least for the boy at my house), and inexpensive to do.
 
 
Here's what I did: Take your furniture...
 ...and pull out all drawers, then remove all hardware. Lightly sand all surfaces to be painted with 220-grit sandpaper. (I know everyone hates sanding. It doesn't take long, though, to just rough up the surface a bit, and the paint job will be so much better in the ened. I'd recommend it.) You don't want to scratch the laminate, but you want to give your primer every possible chance of adhering to the surface.
 
Prime with 1-2-3 Zinsser primer. One or two coats, and sand any obvious areas. Then pull out your oil paint and spread on your first coat. A few things I noticed:

(1) This was my first time using oil based paint. I used Rustoleum's Aluminum oil paint (premixed, from Home Depot). Everything I read prior to painting talked about thinning out your oil-based paint before painting with it, but in this case, my paint was as thin as thin could be. Seriously. Like water. There was a massive glob at the bottom of the can when I first opened it, so I spent quite a long time stirring to break that up. The glob finally did go away/dissolve, but the paint was still very thin.
 
(2) A high quality paintbrush is the way to go. Not a cheapo brush, not a foam brush, not a roller. And it worked best for me when I just applied the paint and left it alone to dry.
 
 
(3) Let each coat dry com.plete.ly. Like, at least 24 hours. At least.
 
 
(4) I ran out of 220-grit sandpaper (which is pretty fine), so before my 2nd coat of paint, I used the finest grit I had. I'm not sure what number it actually was, but using it was a HUGE mistake. Totally scratched the paint rather than sanded it smooth. Then, like a rookie (and a lazy one at that), I thought that I didn't want to re-sand everything again, so *maybe* if I just painted over the scratches, the new coat of oil paint would fill them in. Nope. Let the record show that oil based paint is pretty much the same as latex paint - what you see in smoothness along the way is what you'll get at the end.
 
 
Crap. But it was a good lesson for me, if nothing else (kind of like how this experience was a good lesson in the importance of priming). So I bought the right sandpaper and came home and resanded everything down to the laminate. Basically, I started over. Which was a huge pain, as I'm sure you can imagine. But the finish ended up perfectly smooth. Yessss!
 
Taped out the stripes with frog tape (my new heart-throb of painters tape), painted two coats of blue latex stripes, and applied a topcoat of polyurethane. If you do a furniture painting project like this involving multiple coats and multiple colors, please please please promise me you won't rush it. In one sentence (above), I summarized about 4 days' worth of work and wait.

All in all, the project took me about 6 days (2-3 were due to my mistake. Oops.). Don't be overanxious, and do let the paint dry absolutely thoroughly between coats. I can't stress this enough. If you don't, and you paint on top of a mostly (but not completely) dry surface, it will be forever tacky when you put stuff on the furniture.
 
 
We really really like the finished result. And that oil paint? I'm a believer. My kids aren't exactly easy on furniture, and this paint job is actually standing up to them.
 
 
I like the impact of the stripe - a little retro, a little boyish, a little detail awesomeness that goes a long way. Plus, bonus, it was super simple to measure out (just four strips of frog tape) and paint. 
 
 
Anyone ever painted with oil based paints that were super duper thin before? Or have yours been thick (like all the places I've read) and needed thinning?
 
Either way: I like this look in my son's bedroom. And so does he. Victory all around.

If you're interested, feel free to check out the rest of his simple yet effective bedroom upgrade.

Featured!
      UndertheTableandDreaming


{shared: A Glimpse Inside, A Jennuine Life, A Little Knick Knack, Angels Homestead, Be Colorful, Beyond the Picket FenceBoogieboard Cottage, Busy BeesC.R.A.F.T., Chic on a Shoestring Budget, Coastal Charm, Crafty Texas Girls, Creating my way to Success, DIY by DesignDIY Showoff, Domestically Speaking, Dragonfly Designs, Fireflies & Jellybeans, GingerSnap CraftsHouse of Hepworths, I Should be Mopping the Floor, Lil Luna, Mercy Ink, Miss Mustard Seed, My Girlish Whims, My Romantic Home, My Uncommon Slice of Suburbia, New Nostalgia, Not Just a Housewife, Parlo & Logi, Sew Can DoSew Much Ado, Shabby Nest, Simply Designing, Somewhat Simple, Style Sisters, Sugar and Dots, Sumo's Sweet Stuff, The Shabby Creek CottageUnder the Table & Dreaming, What-About}
Pin It Now!

Bedroom Makeover: Ikea Malm Dresser

Guest Bedroom Makeover
Day 3: Ikea Malm Dresser Makeover

**Note: This is part of a 12-step bedroom makeover series. Find the previous steps at the bottom of this post.**


A few years ago, our house experienced a major flood. Much of our basement furniture was destroyed, so our insurance company gave us money to replace it. In a hurry to be done with the painful coordinate-with-insurance-company experience, we went to Ikea.
 
Oh, to have that pivotal moment back again! Would have made different decisions. Dah well.
 
One of the purchases we made was this lovely (cough) Malm dresser. We placed it in the equally lovely (cough hack snort) guest bedroom.
 
 
Here it has sat for several years. *yawn* I know. So. Boring.
 
Because I'm recently obsessed with Greek key trim (here and here), and because it's in the dead of frigid ice-capped winter around here (thus, doing a full-fledged furniture paint project isn't possible), I thought a golden trim around the front of the dresser would be a simple way to add a little style.
 
I got some 1.5" frog tape and sketched out some measurements.


Then I transferred said awesome sketch onto true-size graph paper. The frog tape was slightly less than 1.5", so I adjusted measurements accordingly.

 
Cut it out. Because I excel at using scissors. Me & my 4-year-old, we're awesome like that.

 
I used a clear cutting board to find the corner point, then taped my homemade stencil there. (As it turns out, a "simple" Greek key pattern isn't the easiest to reproduce...if anyone has an easier way to do this, I'd love to hear!) ('Cept then I'd be mad because I did it the hard way. So. Nevermind.)

 
Penciled in around the corners where I'd be putting tape...

 
...and taped out the dresser's four corners accordingly.

 
Then I added in the stripes of frog tape between the key-detailed corners.

 
I used watered down acrylic gold paint because I've heard it's hard to get a good finish on gold latex (is that true? lies?) and because it's too cold to spray paint around here for the next bunch of months. In hindsight, I'm not sure I'd make the same decision again, but it turned out okay for what it is...a dresser in a largely unused basement guest bedroom. So.
 
And also: I started out using a foam brush. Because I always associate acrylic paints with craft projects and craft projects with foam brushes. But I quickly swapped the foam out for a regular skinny paint brush. Way better, less streaky. 

 
Look, ma! No dropcloth!
 
Painted two or three coats, then peeled off the tape. I love frog tape, you guys. This was my first time using it, actually, and I found it to be far superior to blue painter's tape. Crisper lines and everything. 
 
After the paint dried, I did a suuuuuper light sanding of the paint edges (didn't want to sand off the drawers' original white finish). Then I quickly sprayed the whole thing with clear coat spray. Which officially makes this a craft project instead of furniture makeover. And also we all almost died from the fumes, but it would've been for a good cause, so it's fine.
 
 
Here's the freshly sprayed finished product.
 
 
I like it. Not, like, break down into sobs of joy while I stroke it and give it a name or anything, but it doesn't make me sad, for sure. I'd give the acrylic paint a 7.5 out of 10 -- love the sheen and actual color ("antique gold"), but don't love how it's so thick and a little streaky.
 
Regardless, you should totally come back for Day 4: Pallet Headboard. I love this one! I promise it involves no acrylic paint. And if that doesn't impress you at this point, well, I don't know what to say. 'Cept this: come back anyway. :)
Check out the previous steps to this bedroom makeover:
Day 2: Paint Walls
 
Featured!
featured button  
 
Pin It Now!

Campaign-style Filing Cabinet

So, due to a major de-cluttering and reorganization of this closet, our old metal hidden-away-because-it's-a-hideous-beast of a filing cabinet had to be relocated out into the computer corner of our family room. Our "office space," as it were, was about to be invaded.

Which means...super ugly. In our family room. Hauntingly, nightmarishly present. Nope, can't do it. Something had to change.

And that something involves an old government-issued metal filing cabinet, some frog tape, and some paint to turn the ugly thing into a pretty great campaign-style piece of furniture. 
 
Sure, it's not going to knock the purist-style antique-collecting neighbor's vintage knitted socks off (what, you don't have one of those? strange), but it was a free project and easy to do. And it ended up looking like this:
  
 
 Which may not be that impressive until you take a gander at what she started out as. Here's her original look (back side):
 
 
A lovely puce hue, wouldn't you say? (Bleck.) The drawers:
 
 
And some textured nastiness in the top corner:
 
 
There was tape all over the cabinet, but it was taking way too long to try to peel off, so I busted out my trusty adhesive remover from this wooden trunk makeover project
 
 
First things first: take that high quality government-issued sign off (good to know our trusty government keeps track of classified info via scotch-taped signs. phew. makes me feel safe), because we now actually do have suuuuper secretive information to file away in here.
 
Like blackmail-fodder photos from our awkward years. (Coincidentally, mine spanned ages 5-21...)
 
 
Ahh, much better. That goop (and some original paint) swiped right off the corner here:
 
 
Take all fixtures off the fronts of the drawers. Paint fixtures gold. (Optional: Use a glitter-coated drop cloth. Fancy, no?) 
 
 
Here's where the photo montage takes a turn for the worse...I have literally no photos of the rest of the painting part. Ooops. But I can 'splain it in about three steps. Ready?
 
1. Paint the piece whatever color you want. (I had loads of paint + primer left over from another project, so I rolled that on everywhere.) Let it dry.
 
2. Reattach freshly painted (but dry) drawer fixtures, and put drawers back into the filing cabinet.
 
3a. With drawers intact and pushed in all the way into the cabinet, tape off the campaign-style edges however you want (mine: corners are 3" tall and 3" in, sides are 3" tall and about 1.5" in) then paint them gold (or whatever color you used for your fixtures).
 
3b. Remove tape. Let dry. Commence filing of classified 8th grade photos.

 
My apologies, the color balance is suuuuper funky in these photos. The cabinet is a lovely bluey-grey in real life, but it doesn't read as that under the fluorescents in my basement corner.

 
Done and done. A much better addition to our office space now than the goopy-corner-ness that it was previously, don't you think?
 
 
(Quick back-story: Once upon a time a couple days ago, I wanted to paint a modern perky chevron pattern onto this filing cabinet and even started taping it off and then got lamed out because it would have taken FOR.EV.ER. and so I ripped off the three pieces of tape and instead went with Plan B: Campaign-Style Filing Cabinet, which I ended up liking way more anyway because it's less visually "busy" and thus better for my office space. The end.)
 
Pin It Now!

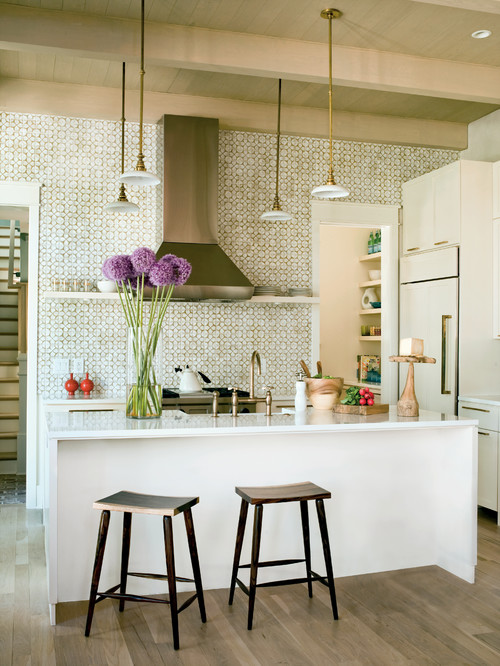
Brassiness

Guess what I've been thinking about today? (I'll give you a hint: it's in the post title. Because I'm subtle like that. Just ask my husband, the dear man.)

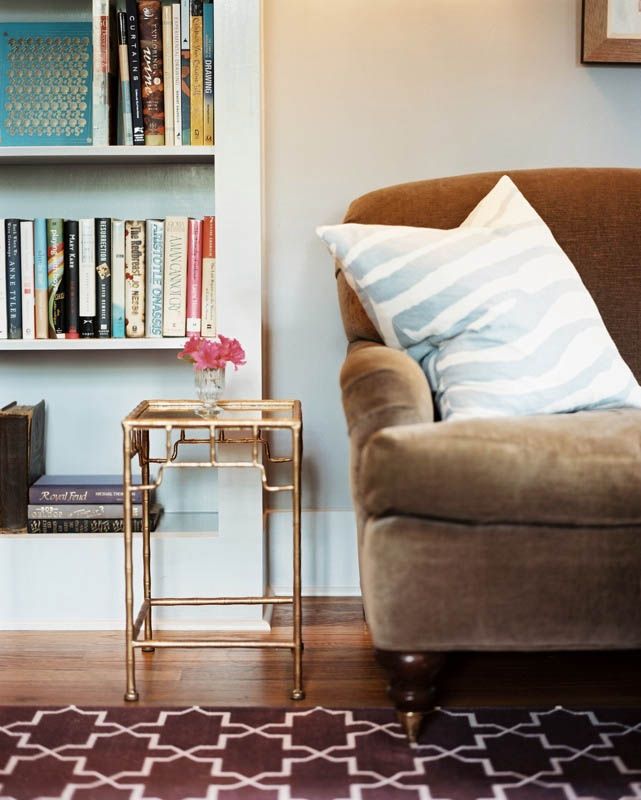
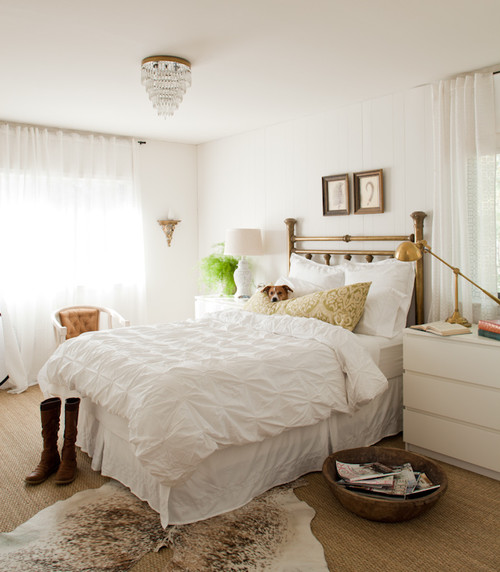
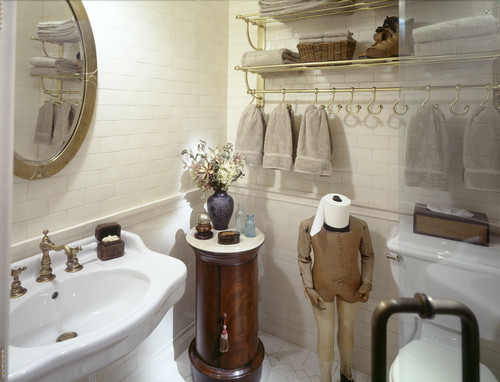
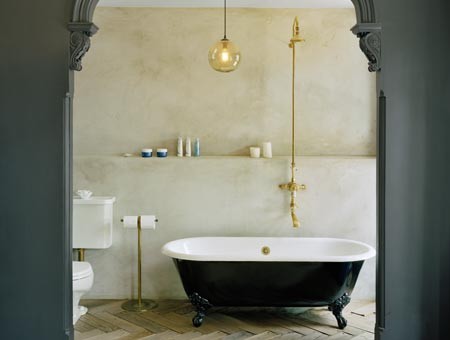
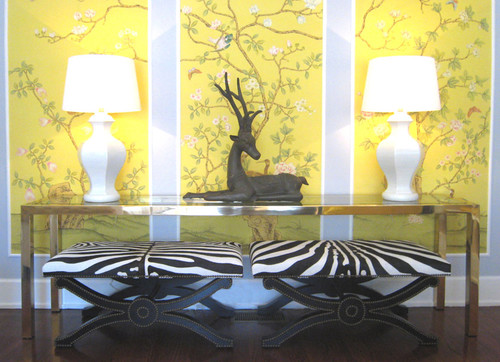
That's right. Brass all by itself and brass lines in general. Maybe I'm super late on the gravy train (mmmm...gravy...), but I just love this metal lately.


(Hahahaha on that toilet paper-holding statue above. That's unexpectedly hilarious.)


And good news for us all: the visual yumminess comes in the form of spray paint. Yeehaw.
Pin It Now!

Related Posts Plugin for WordPress, Blogger...
Pin It button on image hover